Pipedream Integration
Render HTML to a pixel-perfect image inside any Pipedream workflow — no hosted page, no headless browser in a code step. The native Rendex action turns raw markup or a live URL into a PNG, JPEG, WebP, or PDF and hands the result back as base64, ready to upload, email, or post to any of Pipedream's 3,000+ connected apps.
What the Rendex Action Does
Rendex publishes a native Pipedream app with one action, Render to Image. It talks to api.rendex.dev and covers the core rendering path: render raw HTML to an image, or screenshot a live URL. Output is base64-encoded, so the rendered file slots straight into a downstream step.
- Render HTML to an image — paste an invoice, OG card, certificate, or email template and get a PNG back. No hosting step in between.
- Screenshot any URL on a schedule or trigger and archive the image to S3, Drive, or a database.
- Generate PDFs from HTML or a URL by setting the format to
pdf. - Reach the full REST surface — Markdown, data templating, async jobs, batch, and content extraction run from an HTTP request or Node code step with the same key (see Beyond the action).
Quick Setup
Getting from zero to a rendered image takes under five minutes. If you already have a Pipedream workflow and a Rendex key, jump to step 3.
1. Add the Rendex action
In any Pipedream workflow, add a step, search for Rendex, and select the Render to Image action. It appears in the action library alongside the 3,000+ other apps Pipedream connects.
2. Connect your Rendex account
Sign in to your dashboard at rendex.dev/login, open API Keys, and click Create Key. The free plan includes 100 renders per month — enough to validate a workflow before upgrading. Copy the key; it looks like rdx_ followed by 22 characters.
Back in the Rendex step, click Connect Account and paste the key into the API key field. Pipedream stores it encrypted and reuses the same connection across every Rendex step in your account — you never set the Authorization header by hand.
3. Render HTML to an image
With the account connected, fill in the action's props. Set the HTML field to your markup — Pipedream expressions work inline, so you can merge data from earlier steps:
<!doctype html>
<html>
  <body style="font-family: system-ui; padding: 48px; color: #1a1a1a">
    <h1 style="color: #e2571a">Invoice #{{steps.trigger.event.body.invoiceNumber}}</h1>
    <p>Billed to: {{steps.trigger.event.body.customerName}}</p>
    <table style="width: 100%; border-collapse: collapse; margin-top: 24px">
      <tr style="border-bottom: 2px solid #e2571a">
        <th style="text-align: left; padding: 8px">Item</th>
        <th style="text-align: right; padding: 8px">Amount</th>
      </tr>
      <tr>
        <td style="padding: 8px">{{steps.trigger.event.body.item}}</td>
        <td style="text-align: right; padding: 8px">{{steps.trigger.event.body.amount}}</td>
      </tr>
    </table>
  </body>
</html>
Leave Format at png (or switch to pdf for a document), then run the step. To screenshot a live page instead, leave HTML empty and set the URL prop to the full page URL.
4. Use the rendered output
The action returns a JSON object on steps.<name>.$return_value with the file as base64 plus metadata:
{
  "image": "iVBORw0KGgoAAAANSUhEUg...",  // base64-encoded file
  "format": "png",
  "width": 1200,
  "height": 630,
  "bytesSize": 48211
}
Reference {{steps.rendex.$return_value.image}} in any downstream step that accepts base64 — a Slack file upload, a Gmail attachment, or an S3 / Google Drive upload. To write it as a binary file in a code step, decode it with Buffer.from(image, "base64").
Action Props
The Render to Image action exposes three props. Provide exactly one of HTML or a URL — the action errors if you set both or neither.
| Prop | Required | Description |
|---|---|---|
HTML | Either HTML or URL | Raw HTML markup to render. Supports inline Pipedream expressions for merging data from upstream steps. |
URL | Either HTML or URL | A full webpage URL (including https://) to screenshot. Provide this instead of HTML — set exactly one. |
Format | Optional | png (default), jpeg, webp, or pdf. Set to pdf to produce a document instead of an image. |
The action returns the rendered file as base64 on the image field, alongside format, width, height, and bytesSize. The step's summary shows the format and byte size at a glance.
Beyond the Action — Full REST from a Code Step
The no-code action covers the common HTML/URL → image path. For the rest of the Rendex surface — Markdown rendering, Mustache data templating, async jobs with webhook callbacks, batch captures, and content extraction — call the REST API directly from a Pipedream HTTP request action or a Node code step. Add the Rendex app to the step so the connected key is available as this.rendex.$auth.api_key:
// Pipedream — Node code step (full REST surface)
// Add the Rendex app to this step's props so this.rendex.$auth is available.
// Here we render Markdown, which the no-code action does not yet expose.
import { axios } from "@pipedream/platform";

export default defineComponent({
  props: { rendex: { type: "app", app: "rendex" } },
  async run({ steps, $ }) {
    const { data } = await axios($, {
      method: "POST",
      url: "https://api.rendex.dev/v1/screenshot/json",
      headers: {
        Authorization: `Bearer ${this.rendex.$auth.api_key}`,
        "Content-Type": "application/json",
      },
      data: {
        markdown: steps.trigger.event.body.markdown,
        format: "pdf",
      },
    });
    return data; // { image: <base64>, format, bytesSize, ... }
  },
});
Every parameter from the REST API reference is available this way — viewport, full-page scroll, dark mode, element capture, wait strategy, ad and resource blocking, custom CSS/JS/headers/cookies, PDF page options, and geo-targeting (Pro/Enterprise).
Website monitoring (Watch). There is no native Watch action yet, but you create and manage Rendex Watch monitors from the same Node code step — POST to /v1/watches. Only url is required; threshold (0–1, default 0.01) and an optional webhookUrl (Starter+) round it out:
// Pipedream — create a Rendex Watch from a Node code step
import { axios } from "@pipedream/platform";

export default defineComponent({
  props: { rendex: { type: "app", app: "rendex" } },
  async run({ steps, $ }) {
    const { data } = await axios($, {
      method: "POST",
      url: "https://api.rendex.dev/v1/watches",
      headers: {
        Authorization: `Bearer ${this.rendex.$auth.api_key}`,
        "Content-Type": "application/json",
      },
      data: {
        url: "https://status.northwind.io",
        intervalMinutes: 180,   // plan floors: 1440 Free, 180 Starter, 30 Pro
        diffMode: "visual",     // "visual" | "text" | "both"
        notifyEmail: "you@youraccount.com", // any plan; webhookUrl is Starter+
      },
    });
    return data; // the created watch
  },
});
On a change, Rendex POSTs an HMAC-signed watch.changed event — carrying a one-line summary of what changed, the textDiff lines, diffScore, and beforeUrl/afterUrl/diffOverlayUrl/cropUrl images — to the webhookUrl you set. Catch it with a Pipedream HTTP / Webhook trigger in a second workflow (see the webhooks reference). Each check uses 1 credit from your shared pool.
Workflow Recipes
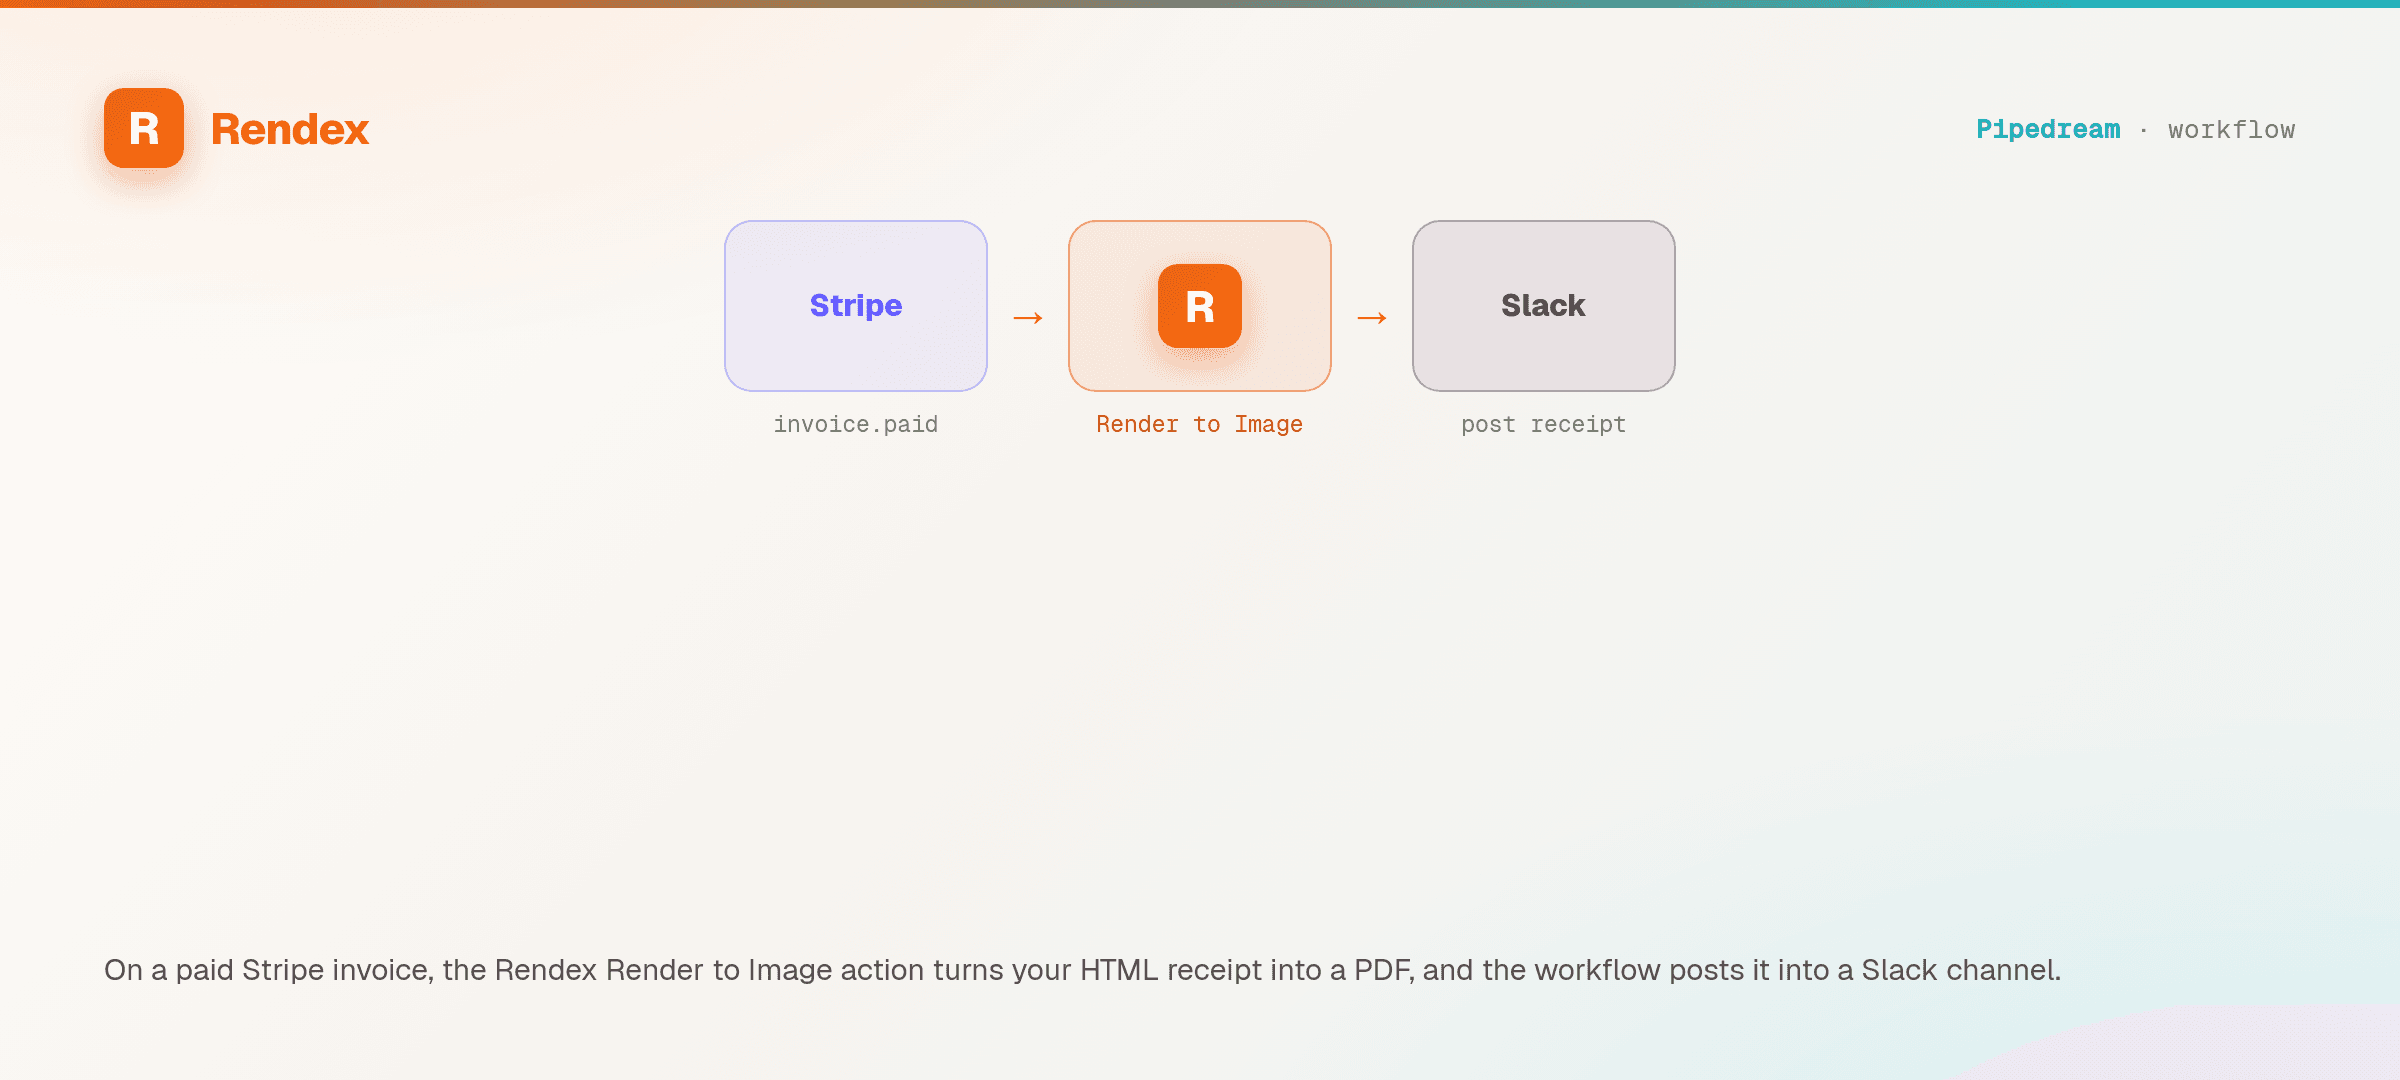
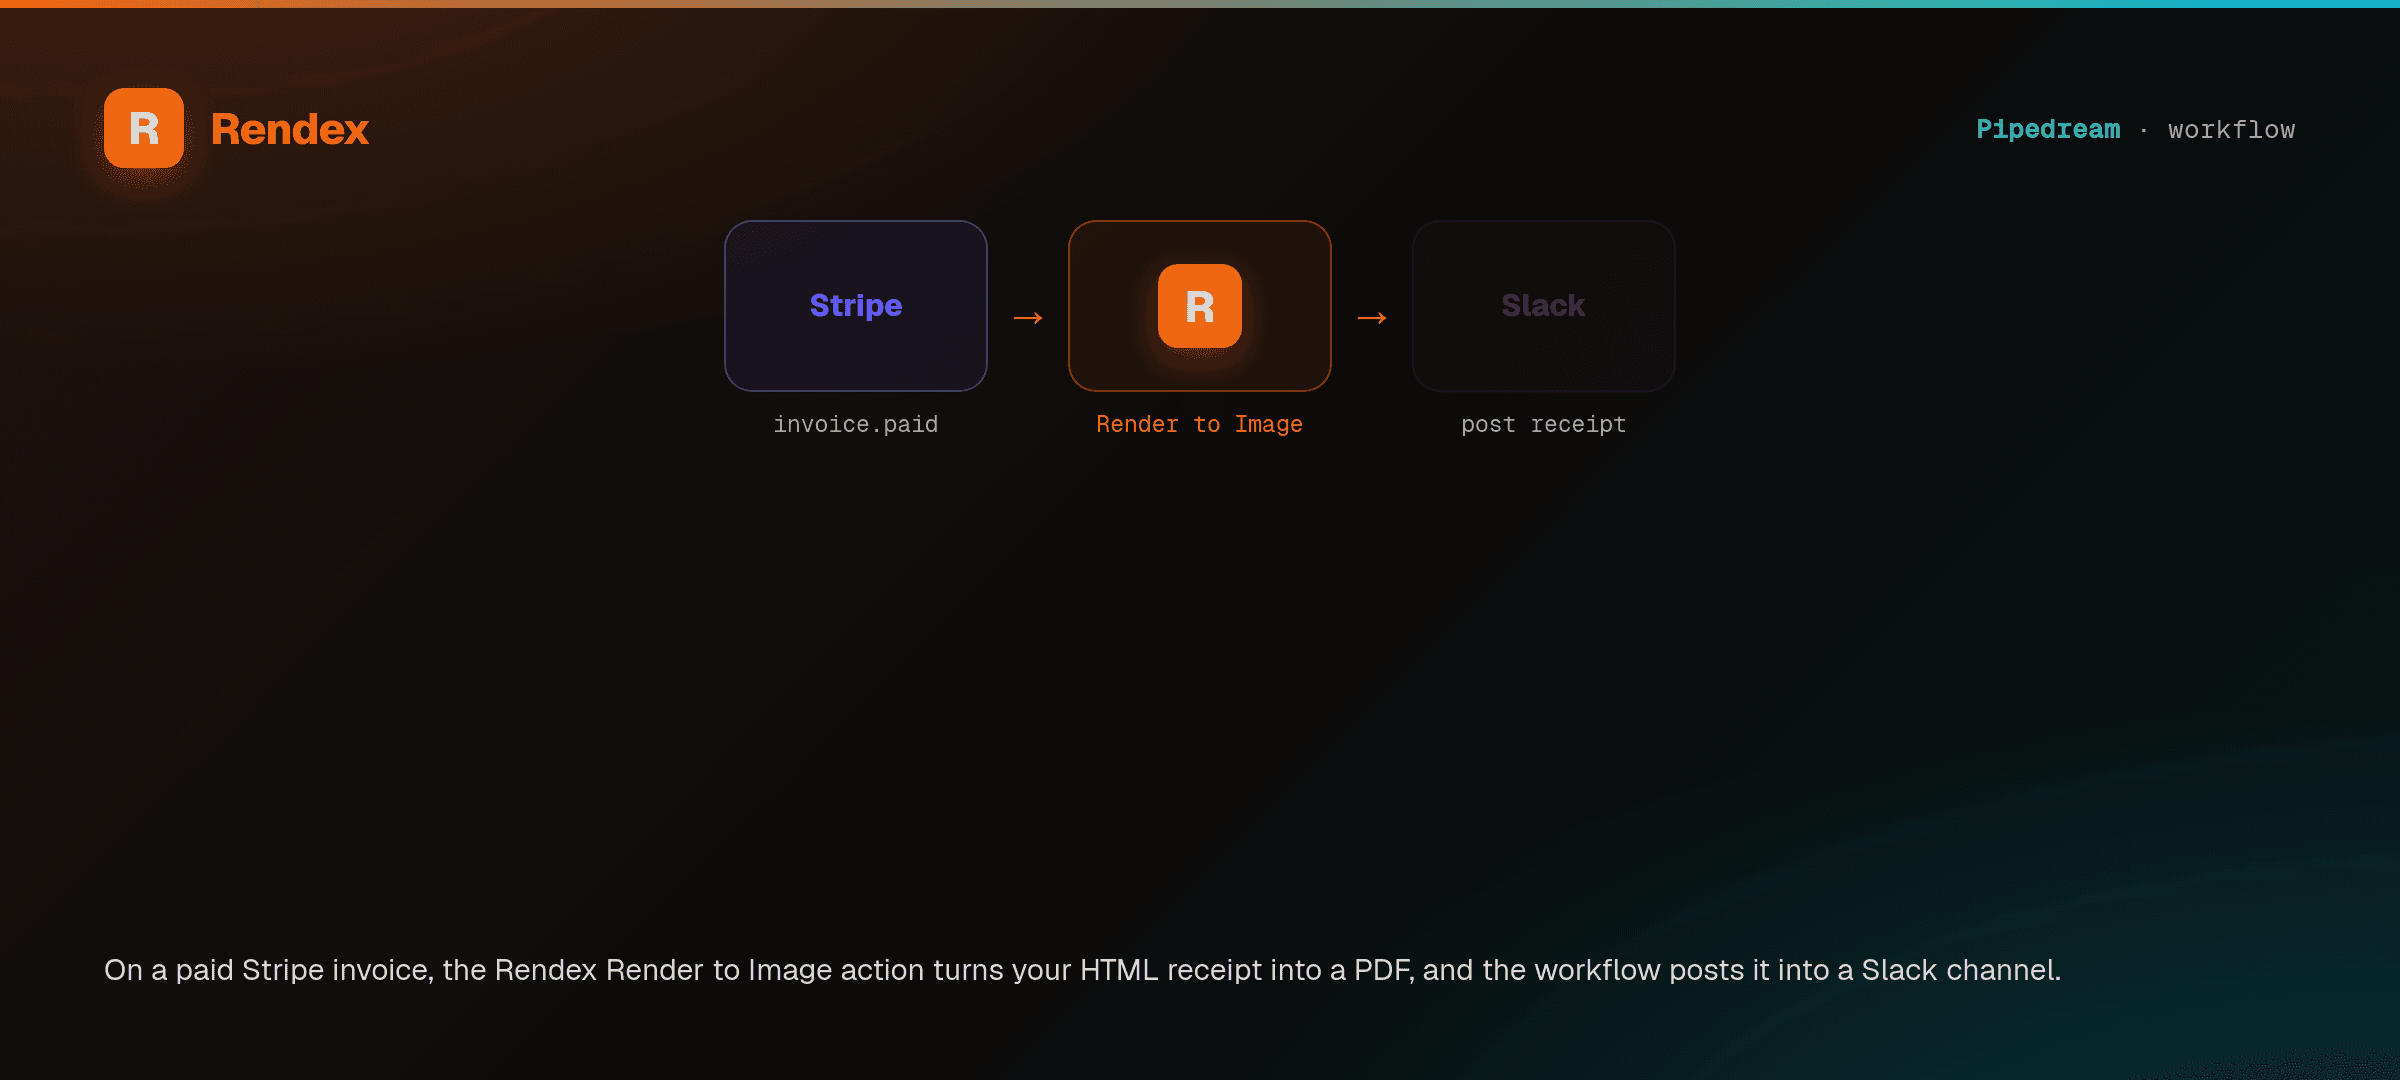
Recipe 1 — Render an invoice PDF on each new order
- Trigger: a new row in Google Sheets, a Stripe event, or any order source.
- Rendex action: Render to Image with your invoice template in the HTML prop and order fields mapped via expressions. Set Format to
pdf. - Send Email (or Upload to S3 / Google Drive) — attach
{{steps.rendex.$return_value.image}}(the base64 PDF).
Recipe 2 — Generate a social OG card per blog post
- Trigger: an RSS or CMS event fires on a new post.
- Rendex action: HTML prop holds a branded card template; inject the post title and author with expressions. Format
png. - Upload to S3— store the PNG and use its URL as the post's
og:image.
Recipe 3 — Weekly competitor screenshot to Slack
- Trigger: a Pipedream Schedule set to Monday 9am.
- Rendex action: leave HTML empty, set URL to the page you track. Format
png. - Slack — send the base64 image to your
#market-intelchannel.
Plan Limits
Every Rendex API limit applies inside Pipedream.
| Limit | Free | Basic | Starter | Pro | Enterprise |
|---|---|---|---|---|---|
| Rate limit (req/min) | 3 | 20 | 60 | 300 | 1000 |
| Batch size | — | 10 | 25 | 100 | 500 |
| Concurrent async jobs | 3 | 15 | 50 | 200 | 1000 |
| Geo-targeting | — | — | — | Yes | Yes |
See the pricing page for full plan details.
Tips & Best Practices
- Map data with expressions. The HTML prop accepts Pipedream expressions, so you can build a single template and feed it from any upstream step.
- Use a code step for slow URLs.If a live page is heavy or rate-limited, render async via the REST API from a code step so you aren't blocking the run.
- Keep HTML self-contained. Reference web fonts and images by absolute
https://URLs so they resolve during the render. - Decode once. If several downstream steps need the file, decode the base64 to a Buffer in one code step and reuse it.
Troubleshooting
The account won't connect
Confirm the key starts with rdx_ and has exactly 22 characters after the prefix, with no trailing space. A 401 usually means a rotated or mistyped key — re-paste it directly from your dashboard and reconnect the account.
The image is blank
For live URLs that render via JavaScript, the page may need more time to settle, or render a self-contained HTML string instead. For raw HTML, check that your markup references fonts and remote images by absolute URL.
Support
For Rendex API questions, email support@rendex.dev or check the error reference. The Rendex app lives at pipedream.com/apps/rendex.
Next Steps
- Rendex for Pipedream — what the action unlocks and how it fits your stack.
- Create a free Rendex API key — 100 renders/month, no credit card.
- Quickstart — see the SDK and REST equivalents of every render.
- API Reference — every rendering parameter you can pass from a code step.
- Webhooks — the async + webhook pattern for long-running renders.