Extract Clean Article Text from Any URL
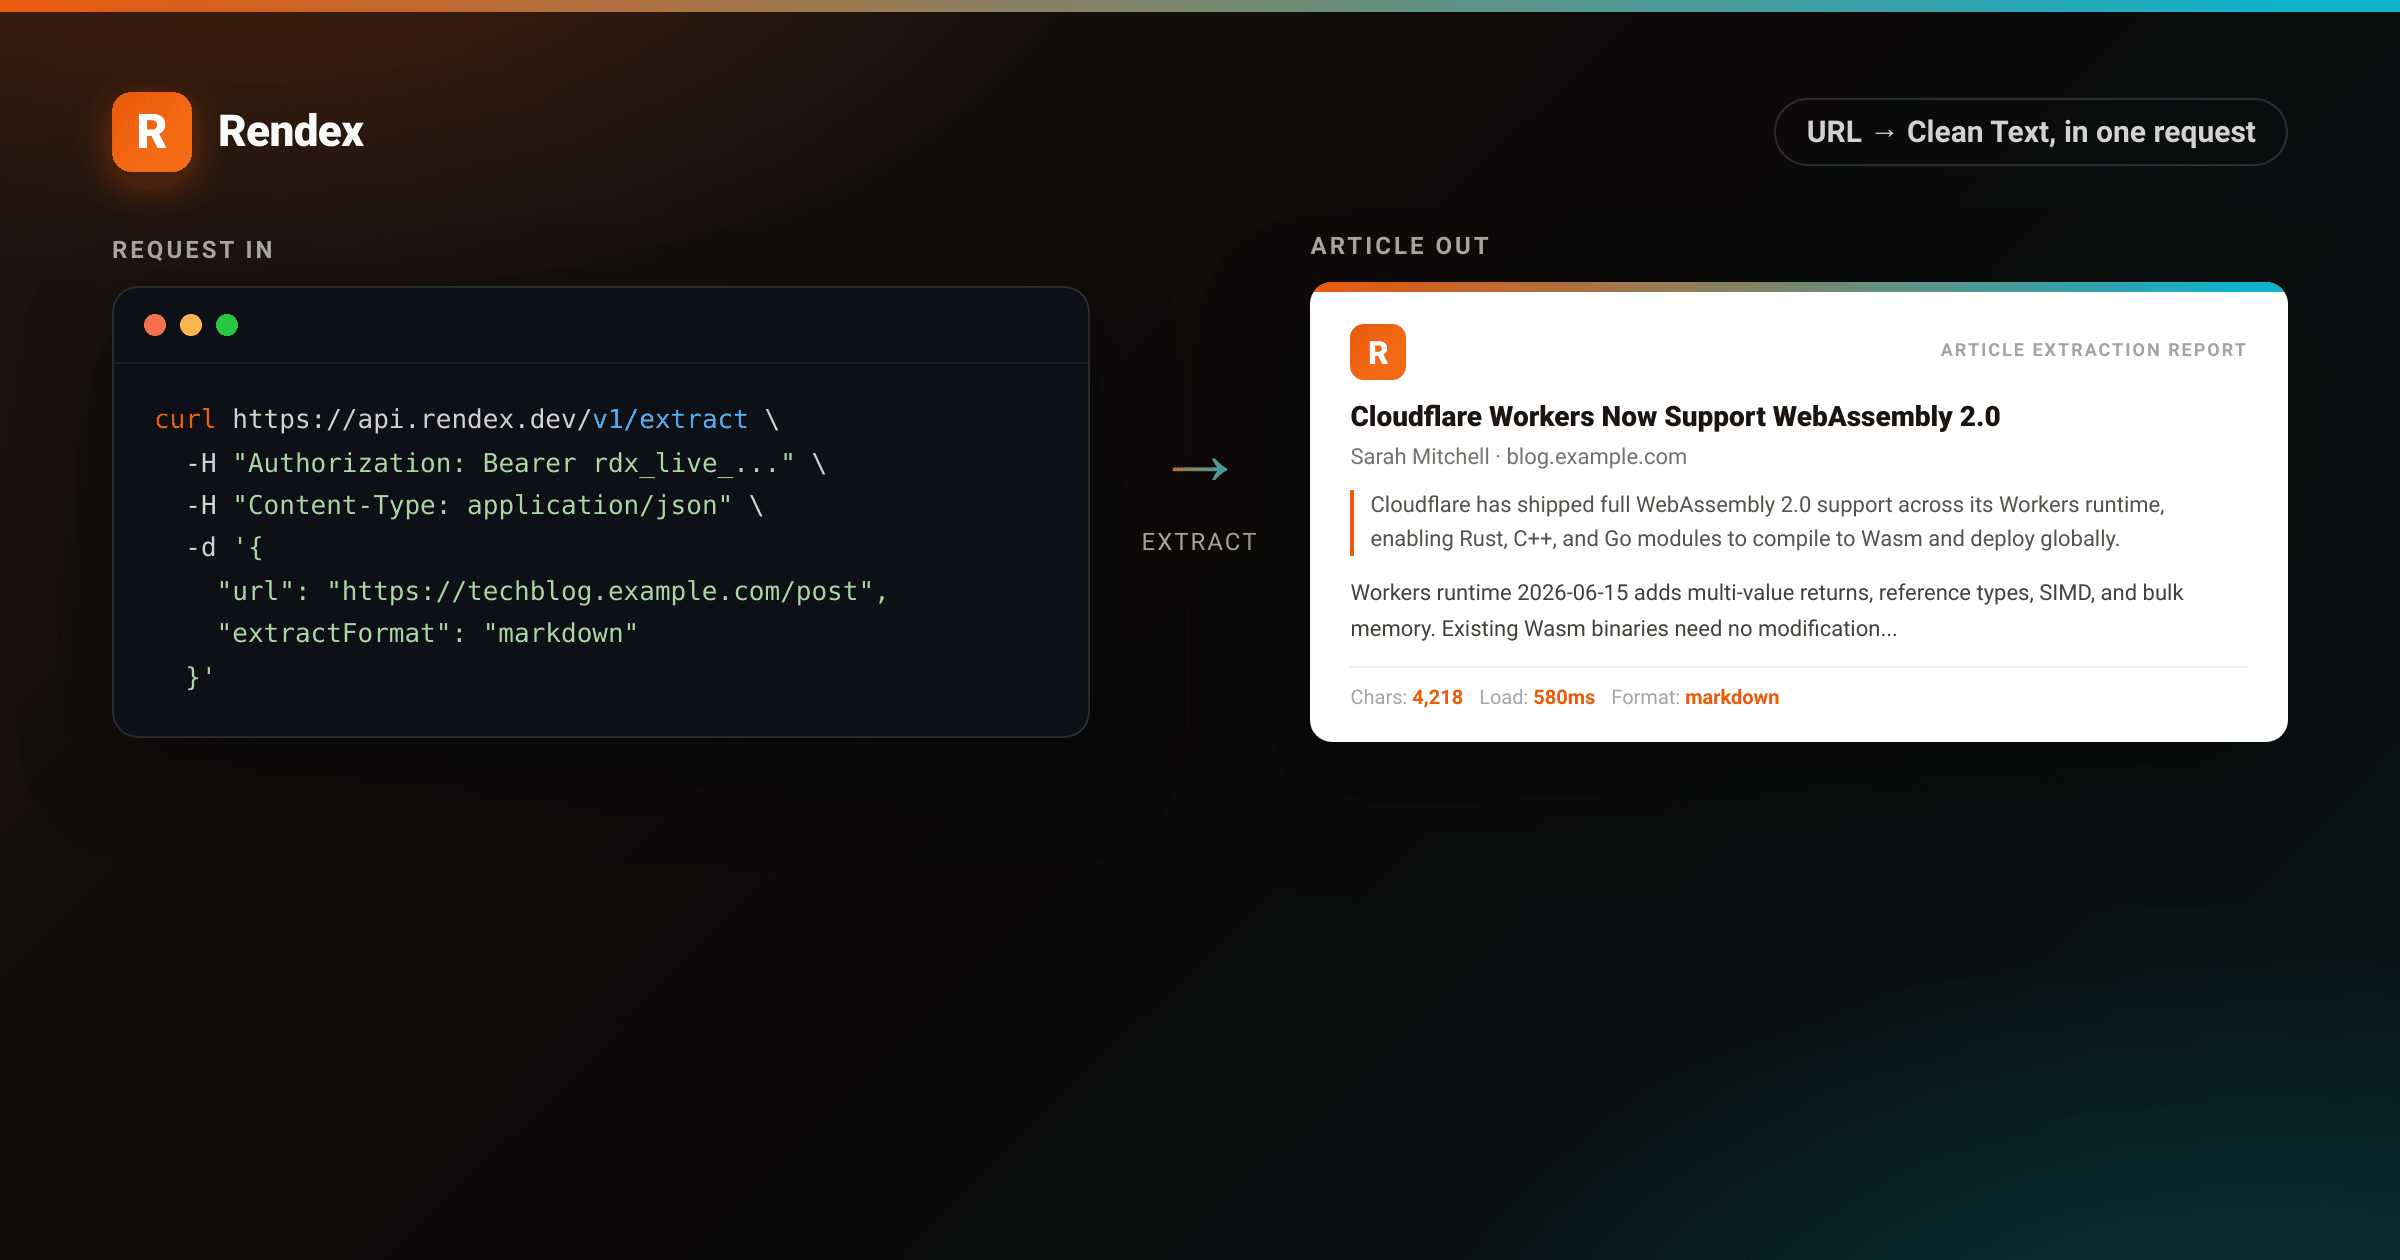
Most web pages are 80% boilerplate: navigation, footers, ads, cookie banners, and sidebars. When you need the article itself, a screenshot gives you pixels and a raw fetch gives you a wall of markup. The extract endpoint returns just the readable content: title, author, excerpt, and body in Markdown, JSON, or HTML, drawn from a full Chromium render pass. SPAs and JavaScript-heavy pages work the same as static ones.
This guide shows how to use the extract article text API from curl, the Python SDK, and the JavaScript SDK, and how to combine extraction with screenshot capture in a single request.
Prerequisites
- A Rendex API key. The free tier gives you 100 calls per month with no credit card required.
- curl (for the HTTP examples), or the Python or JavaScript SDK.
Step 1: Send your first extraction request
POST /v1/extract takes a URL and returns the article body without images, navigation, or ads.
curl https://api.rendex.dev/v1/extract \
  -H "Authorization: Bearer rdx_YOUR_KEY" \
  -H "Content-Type: application/json" \
  -d '{
    "url": "https://example.com/blog/article",
    "extractFormat": "markdown"
  }'
# Get your API key at rendex.dev/login
The response includes the extracted content and page metadata:
{
  "success": true,
  "data": {
    "url": "https://example.com/blog/article",
    "format": "markdown",
    "content": "# Article Heading\n\nFirst paragraph of clean body text...",
    "title": "Article Heading",
    "byline": "Author Name",
    "excerpt": "A short description of the article content.",
    "siteName": "Example",
    "length": 4218,
    "loadTimeMs": 580
  }
}
length is the character count of the extracted plain text. Use it to estimate token cost before feeding the content to a language model. loadTimeMs tracks render time, which varies by page weight.
Step 2: Choose the right extractFormat
The extractFormat parameter controls the shape of the content field. Default is markdown.
- markdown: Headers, bold, links, and code blocks are preserved as Markdown. Paste directly into an LLM prompt or a document store.
- json: The full Readability parse result as a JSON string. Includes additional fields beyond what the API surfaces at the top level.
- html: Sanitized HTML with semantic structure. Useful when you render the content in a frame or need to preserve anchor IDs.
- text: Flat plain text with no markup. Smallest output, fastest to process, good for embedding pipelines that do not need structure.
Step 3: Extract with the Python SDK
# pip install rendex
from rendex import Rendex

rendex = Rendex("rdx_YOUR_KEY")  # get your key at rendex.dev/login

result = rendex.extract(
    "https://example.com/blog/article",
    extract_format="markdown",
)

print(result["title"])    # "Article Heading"
print(result["byline"])   # "Author Name"
print(result["length"])   # 4218
print(result["content"])  # full Markdown body text
The extract method posts to /v1/extract. The extract_formatparameter converts to the API's camelCase extractFormat automatically.
Step 4: Extract with the JavaScript SDK
import { Rendex } from "@copperline/rendex"

const rendex = new Rendex("rdx_YOUR_KEY")  // get your key at rendex.dev/login

const result = await rendex.extract({
  url: "https://example.com/blog/article",
  extractFormat: "markdown",
})

console.log(result.title)    // "Article Heading"
console.log(result.byline)   // "Author Name"
console.log(result.length)   // 4218
console.log(result.content)  // full Markdown body
Step 5: Feed extracted text to an LLM
The extract endpoint strips all the noise before you call a language model. No HTML cleanup, no wasted tokens on menus.
import anthropic
from rendex import Rendex

rendex = Rendex("rdx_YOUR_KEY")
claude = anthropic.Anthropic()

result = rendex.extract(
    "https://example.com/blog/article",
    extract_format="text",  # plain text uses fewer tokens
)

message = claude.messages.create(
    model="claude-sonnet-5",
    max_tokens=512,
    messages=[{
        "role": "user",
        "content": f"Summarize in 2-3 sentences:\n\n{result['content']}",
    }],
)

print(message.content[0].text)
Step 6: Get a screenshot and text in one call
To capture an image and extract the article body together, use POST /v1/screenshot/json with extract: true. The response includes the base64-encoded image alongside an extracted key. Extraction on this endpoint is non-fatal: if the page has no article-like content, extracted is null and the screenshot proceeds normally.
curl https://api.rendex.dev/v1/screenshot/json \
  -H "Authorization: Bearer rdx_YOUR_KEY" \
  -H "Content-Type: application/json" \
  -d '{
    "url": "https://example.com/blog/article",
    "extract": true,
    "extractFormat": "markdown"
  }'
Example: extraction report
<!DOCTYPE html>
<html lang="en">
<head>
<meta charset="utf-8">
<style>
  :root { --brand: #ea580c; --brand-2: #06b6d4; }
  * { box-sizing: border-box; }
  body {
    margin: 0;
    background: #f3f0ed;
    display: flex;
    align-items: center;
    justify-content: center;
    min-height: 1160px;
    font-family: -apple-system, BlinkMacSystemFont, "Segoe UI", Roboto, Helvetica, Arial, sans-serif;
    -webkit-font-smoothing: antialiased;
  }
  .page {
    width: 860px;
    background: #fff;
    border-radius: 12px;
    box-shadow: 0 24px 64px rgba(0,0,0,0.12), 0 4px 16px rgba(0,0,0,0.06);
    overflow: hidden;
  }
  .topbar { height: 5px; background: linear-gradient(90deg, var(--brand), var(--brand-2)); }
  .header {
    padding: 32px 40px 24px;
    border-bottom: 1px solid #e8e4e0;
    display: flex;
    align-items: center;
    justify-content: space-between;
  }
  .brand { display: flex; align-items: center; gap: 10px; }
  .mark {
    width: 34px; height: 34px; border-radius: 8px;
    background: linear-gradient(135deg, var(--brand), #f97316);
    display: flex; align-items: center; justify-content: center;
    font-weight: 800; font-size: 18px; color: #fff;
    box-shadow: 0 4px 12px rgba(234,88,12,0.3);
  }
  .brand-name { font-size: 17px; font-weight: 800; color: #1c1917; letter-spacing: -0.2px; }
  .report-label {
    font-size: 13px; font-weight: 600; color: #78716c;
    border: 1px solid #e2ded9; border-radius: 999px;
    padding: 5px 13px;
  }
  .body { padding: 32px 40px 40px; }
  .report-title { font-size: 13px; font-weight: 700; letter-spacing: 1.2px; text-transform: uppercase; color: #a8a29e; margin-bottom: 20px; }
  .article-title {
    font-size: 26px; font-weight: 800; color: #1c1917; line-height: 1.25;
    margin: 0 0 6px; letter-spacing: -0.4px;
  }
  .meta { display: flex; gap: 20px; margin-bottom: 24px; flex-wrap: wrap; }
  .meta-item { display: flex; flex-direction: column; gap: 2px; }
  .meta-key { font-size: 11px; font-weight: 700; letter-spacing: 0.8px; text-transform: uppercase; color: #a8a29e; }
  .meta-val { font-size: 13px; color: #44403c; font-weight: 500; }
  .divider { height: 1px; background: #f0ece8; margin: 0 0 20px; }
  .excerpt-label { font-size: 11px; font-weight: 700; letter-spacing: 0.8px; text-transform: uppercase; color: #a8a29e; margin-bottom: 8px; }
  .excerpt {
    font-size: 15px; line-height: 1.6; color: #57534e;
    border-left: 3px solid var(--brand); padding-left: 14px;
    margin-bottom: 28px; font-style: italic;
  }
  .content-label { font-size: 11px; font-weight: 700; letter-spacing: 0.8px; text-transform: uppercase; color: #a8a29e; margin-bottom: 10px; }
  .content-box {
    background: #faf8f6; border: 1px solid #e8e4e0; border-radius: 8px;
    padding: 20px 22px; margin-bottom: 24px;
  }
  .content-box p { font-size: 14px; line-height: 1.7; color: #44403c; margin: 0 0 12px; }
  .content-box p:last-child { margin-bottom: 0; }
  .content-box h2 { font-size: 16px; font-weight: 700; color: #1c1917; margin: 0 0 10px; }
  .stats { display: grid; grid-template-columns: repeat(4, 1fr); gap: 12px; }
  .stat {
    background: #faf8f6; border: 1px solid #e8e4e0; border-radius: 8px;
    padding: 14px 16px;
  }
  .stat-key { font-size: 11px; font-weight: 700; letter-spacing: 0.8px; text-transform: uppercase; color: #a8a29e; margin-bottom: 4px; }
  .stat-val { font-size: 18px; font-weight: 800; color: var(--brand); }
  .stat-unit { font-size: 12px; font-weight: 500; color: #78716c; }
  .footer { padding: 16px 40px; border-top: 1px solid #e8e4e0; display: flex; justify-content: space-between; align-items: center; }
  .footer-url { font-size: 12px; color: #78716c; font-family: ui-monospace, monospace; }
  .status { display: flex; align-items: center; gap: 6px; font-size: 12px; font-weight: 600; color: #16a34a; }
  .dot { width: 7px; height: 7px; border-radius: 50%; background: #16a34a; }
</style>
</head>
<body>
  <div class="page">
    <div class="topbar"></div>
    <div class="header">
      <div class="brand">
        <div class="mark">R</div>
        <div class="brand-name">Rendex</div>
      </div>
      <div class="report-label">Article Extraction Report</div>
    </div>
    <div class="body">
      <div class="report-title">Extracted Content</div>
      <div class="article-title">Cloudflare Workers Now Support WebAssembly 2.0</div>
      <div class="meta">
        <div class="meta-item">
          <div class="meta-key">Author</div>
          <div class="meta-val">Sarah Mitchell</div>
        </div>
        <div class="meta-item">
          <div class="meta-key">Site</div>
          <div class="meta-val">blog.example.com</div>
        </div>
        <div class="meta-item">
          <div class="meta-key">Format</div>
          <div class="meta-val">markdown</div>
        </div>
        <div class="meta-item">
          <div class="meta-key">Extracted</div>
          <div class="meta-val">2026-08-14</div>
        </div>
      </div>
      <div class="divider"></div>
      <div class="excerpt-label">Excerpt</div>
      <div class="excerpt">
        Cloudflare has shipped full WebAssembly 2.0 support across its Workers runtime, enabling developers to compile Rust, C++, and Go modules directly to Wasm and deploy globally in seconds.
      </div>
      <div class="content-label">Extracted Body (Markdown)</div>
      <div class="content-box">
        <h2>What Changed</h2>
        <p>
          Cloudflare Workers now supports the full WebAssembly 2.0 feature set, including multi-value returns, reference types, SIMD, and bulk memory operations. Previously, teams targeting Workers needed to compile against a restricted subset of the Wasm spec.
        </p>
        <p>
          The change lands in Workers runtime 2026-06-15, which rolls out globally over 48 hours. Existing Wasm binaries require no modification; the new instructions are additive.
        </p>
        <h2>Deployment</h2>
        <p>
          Compile your Rust module with <code>wasm-pack build --target bundler</code>, import the output with <code>import init from './pkg'</code>, and call <code>await init()</code> in your Worker handler. Wrangler handles the bundling step.
        </p>
      </div>
      <div class="stats">
        <div class="stat">
          <div class="stat-key">Chars</div>
          <div class="stat-val">4,218</div>
        </div>
        <div class="stat">
          <div class="stat-key">Load</div>
          <div class="stat-val">580<span class="stat-unit"> ms</span></div>
        </div>
        <div class="stat">
          <div class="stat-key">Format</div>
          <div class="stat-val" style="font-size:14px;padding-top:2px">markdown</div>
        </div>
        <div class="stat">
          <div class="stat-key">Status</div>
          <div class="stat-val" style="font-size:13px;color:#16a34a;padding-top:2px">OK</div>
        </div>
      </div>
    </div>
    <div class="footer">
      <div class="footer-url">https://blog.example.com/cloudflare-wasm-2</div>
      <div class="status"><div class="dot"></div>Extraction complete</div>
    </div>
  </div>
</body>
</html>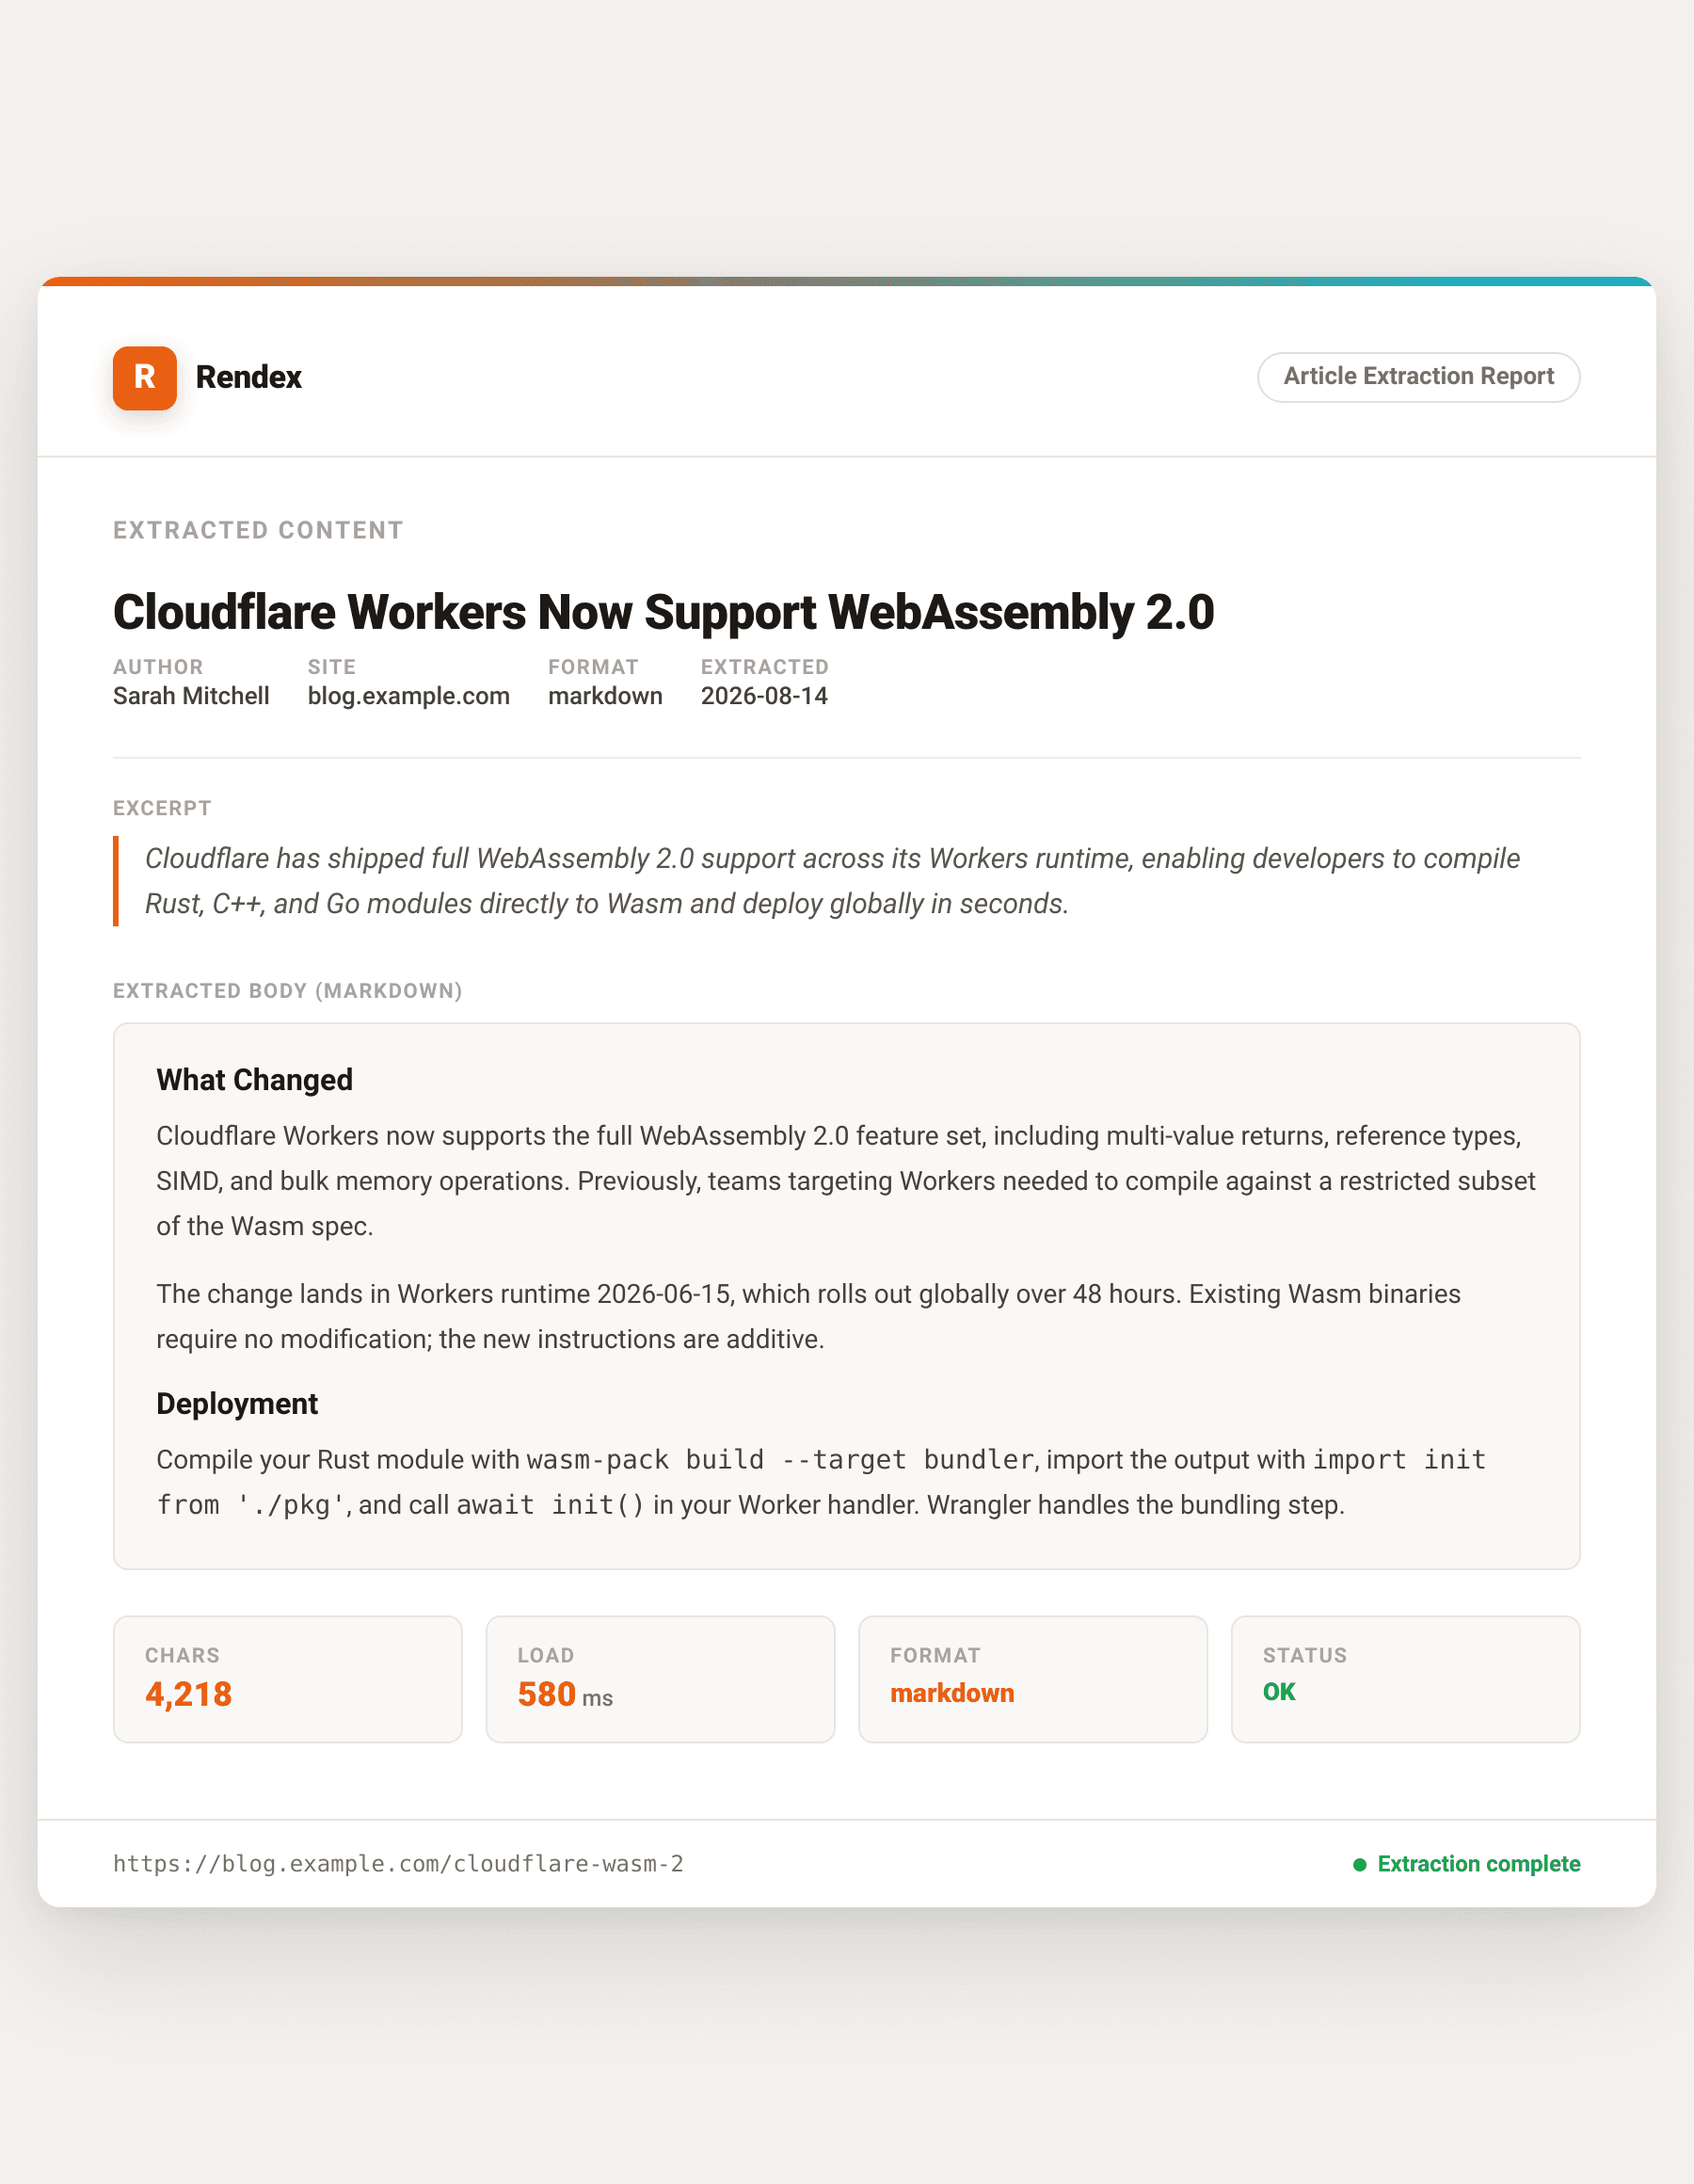
Troubleshooting
EXTRACTION_FAILED (422). The page has no article-like content that the extractor can identify. Landing pages, dashboards, and login screens fall into this category. Use the free URL-to-Markdown tool to test a URL before building against it.
Async is not supported. /v1/extract returns content inline and rejects async: true. For high-volume extraction, manage your own job queue or use the batch screenshot endpoint with extract: true.
Geo-targeting is not available on /v1/extract. To extract content from a geo-restricted URL, use POST /v1/screenshot/json with both geo and extract: true.
HTML input is not supported. /v1/extract requires a url. To extract from your own HTML string, use POST /v1/screenshot/json with html and extract: true.
Next steps
Test extraction on any URL without writing code using the free URL-to-Markdown tool. The API reference covers every parameter the extract endpoint accepts, including cookie and header injection for pages that require authentication. For a broader look at where extraction fits in the rendering stack, see Rendering API vs Screenshot API.
Get a free API key and start pulling clean article text from any URL in seconds.