Render HTML and Screenshots in Zapier (No-Code)
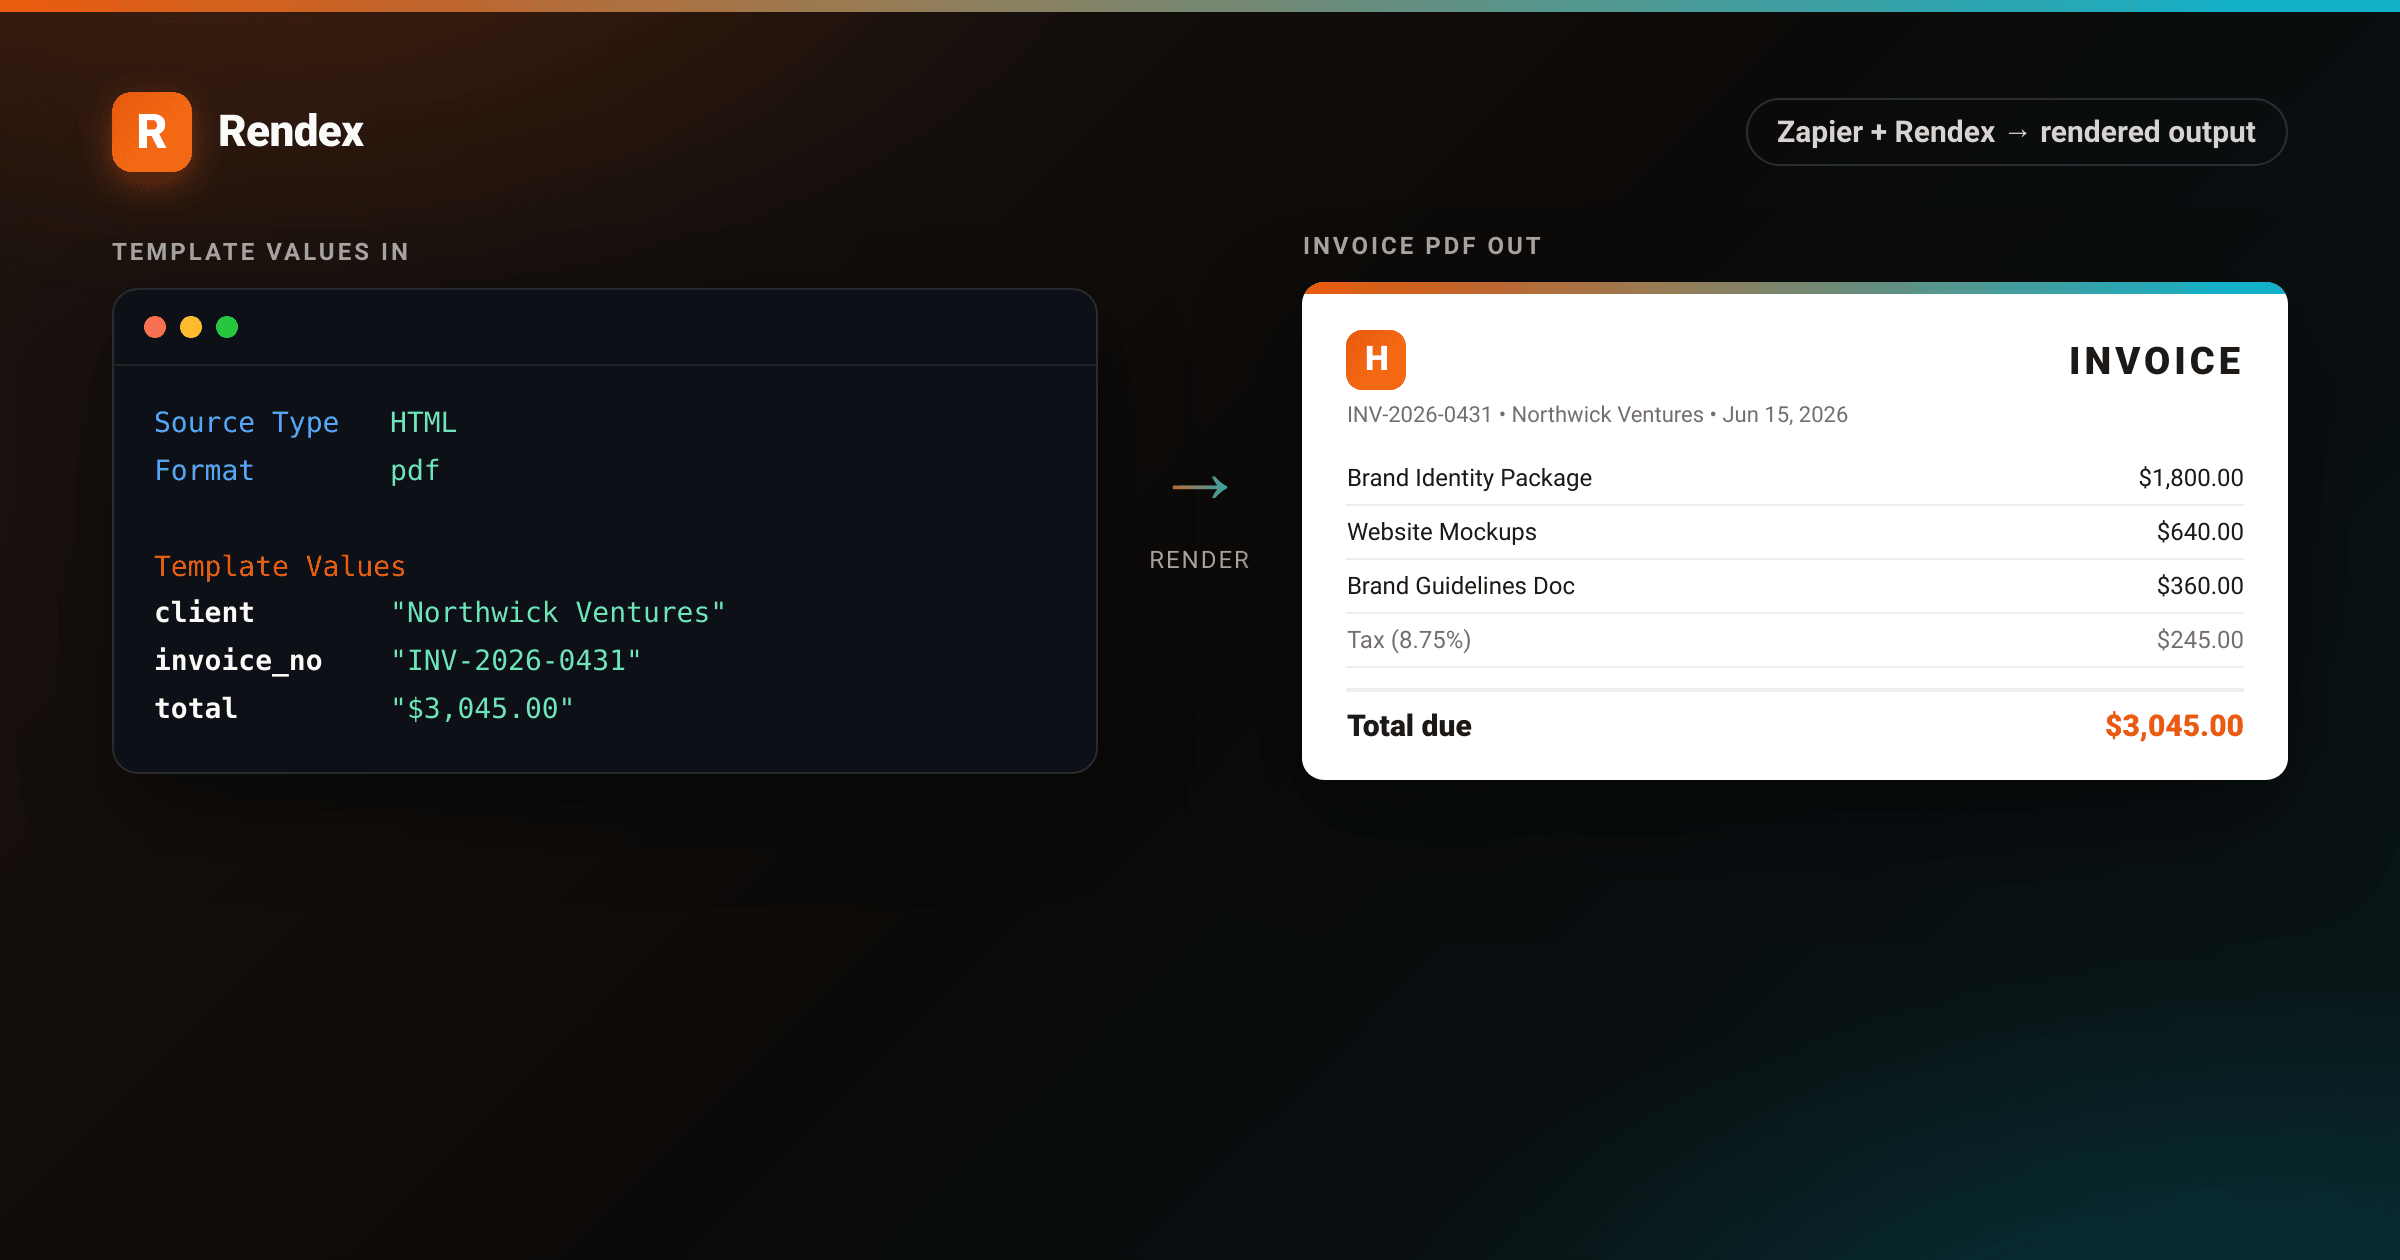
Zapier connects your apps, but getting a rendered image or PDF out of a Zap usually means wiring up an HTTP module and manually constructing JSON bodies. The native Rendex app for Zapier removes that step: five actions in the app directory, no HTTP modules, no auth headers to copy by hand.
This guide covers the three most common workflows: capturing a URL as a PNG, rendering an HTML template with dynamic data using Template Values, and generating a PDF. All three work from the Zapier editor with point-and-click field mapping.
Prerequisites
- A Zapier account on any plan. The free plan supports single-step and two-step Zaps; Starter or higher unlocks multi-step workflows.
- A Rendex API key. The free tier covers 100 captures per month. Get one at rendex.dev/login.
Step 1: Find Rendex and Connect Your Account
Open Zapier and start a new Zap. When adding an action step, search for Rendex in the app directory. Zapier will prompt you to authenticate: paste your API key and click Yes, Continue. Zapier validates the key against api.rendex.dev and stores it encrypted. It never appears in Zap run logs.
Full setup steps are in the Zapier integration docs.
The Rendex app exposes five actions and one trigger:
- Capture Screenshot: URL, HTML, or Markdown to PNG/JPEG/WebP/PDF (synchronous, returns the file inline)
- Generate PDF: same sources, always PDF output, with page-size, margin, and orientation controls
- Extract Text: pull clean content from a URL for LLM pipelines or content archives
- Capture Screenshot (Background): async, returns a Job ID; pair with Get Job Status for heavy pages
- Submit Batch: 5 to 500 URLs at once depending on your Rendex plan
- New Completed Screenshot (trigger): fires when a background job finishes
Step 2: Capture a Zapier Screenshot from a URL
Capture Screenshot is the right action for most Zaps. It runs synchronously: the step submits the render, waits for the result, and returns the image file inline. The next Zap step can attach it to an email, upload it to Google Drive, or post it to Slack.
Set Source Type to URL, then map the URL field from your trigger: an Airtable URL column, a Google Sheets cell, or a field from an incoming webhook. Set Output Format to png and toggle Full Page if you need the entire scrollable page, not just the above-the-fold viewport.
The action returns a file output. Map it into any binary-capable Zap step: Google Drive Upload File, Dropbox, OneDrive, or an email attachment.
A common Zapier screenshot recipe: Airtable New Record (with a URL field) to Rendex Capture Screenshot to Airtable Update Record to write the screenshot URL back to the same row.
For pages that load content client-side via JavaScript, set Wait For Selector to a CSS selector that appears only after the page finishes rendering. For example, #dashboard or .data-ready. Without this, the capture may fire before the content paints.
Step 3: Render an HTML Template with Dynamic Data
When Source Type is set to HTML, a second field appears: Template Values. This is the feature that separates Rendex from a plain screenshot API.
Template Values is a key-value dict. Any key you add replaces the matching {{placeholder}} in your HTML at render time. Write one HTML template with placeholders, fill in the values from your Zap trigger (a Sheets row, a CRM record, an order webhook), and every run produces a different rendered output from the same template. No code step, no external template engine.
<!DOCTYPE html>
<html lang="en">
<head>
<meta charset="utf-8">
<style>
  :root { --brand: #ea580c; --brand-2: #06b6d4; }
  * { box-sizing: border-box; margin: 0; padding: 0; }
  body { background: #f5f0eb; display: flex; justify-content: center; align-items: flex-start;
    padding: 40px; font-family: -apple-system, BlinkMacSystemFont, "Segoe UI", Roboto, sans-serif; }
  .page { background: #fff; width: 820px;
    box-shadow: 0 4px 32px rgba(0,0,0,0.14), 0 1px 4px rgba(0,0,0,0.08); border-radius: 4px; overflow: hidden; }
  .topbar { height: 6px; background: linear-gradient(90deg, var(--brand), var(--brand-2)); }
  .inner { padding: 56px 56px 48px; }
  .header { display: flex; justify-content: space-between; align-items: flex-start;
    border-bottom: 1px solid #e7e5e4; padding-bottom: 32px; margin-bottom: 32px; }
  .logo-wrap { display: flex; align-items: center; gap: 14px; }
  .logo { width: 48px; height: 48px; border-radius: 12px;
    background: linear-gradient(135deg, var(--brand), #f97316); color: #fff; font-weight: 800;
    font-size: 24px; display: flex; align-items: center; justify-content: center;
    box-shadow: 0 4px 12px rgba(234,88,12,0.3); }
  .company { font-size: 18px; font-weight: 700; color: #1c1917; }
  .company-sub { font-size: 13px; color: #78716c; margin-top: 2px; }
  .inv-meta { text-align: right; }
  .inv-label { font-size: 11px; letter-spacing: 2px; text-transform: uppercase; color: #a8a29e; font-weight: 700; }
  .inv-number { font-size: 26px; font-weight: 800; letter-spacing: -0.5px; color: #1c1917; margin-top: 2px; }
  .inv-status { display: inline-block; background: #fef3c7; color: #92400e;
    font-size: 12px; font-weight: 600; padding: 3px 10px; border-radius: 999px; margin-top: 6px; }
  .bill-section { display: flex; gap: 40px; margin-bottom: 36px; }
  .bill-col h4 { font-size: 11px; letter-spacing: 1.5px; text-transform: uppercase;
    color: #a8a29e; font-weight: 700; margin-bottom: 8px; }
  .bill-col p { font-size: 14px; color: #1c1917; line-height: 1.6; }
  .bill-col p strong { font-weight: 700; }
  table { width: 100%; border-collapse: collapse; }
  thead th { font-size: 11px; letter-spacing: 1.5px; text-transform: uppercase;
    color: #78716c; font-weight: 700; padding: 0 0 12px; border-bottom: 2px solid #e7e5e4; text-align: left; }
  thead th:last-child { text-align: right; }
  tbody tr { border-bottom: 1px solid #f5f5f4; }
  tbody td { padding: 14px 0; font-size: 14px; color: #1c1917; }
  tbody td:last-child { text-align: right; font-weight: 500; }
  .totals { margin-top: 24px; }
  .total-row { display: flex; justify-content: space-between; font-size: 14px; color: #1c1917; padding: 6px 0; }
  .total-row.muted { color: #78716c; font-size: 13px; }
  .total-row.grand { border-top: 2px solid #e7e5e4; margin-top: 8px; padding-top: 16px;
    font-size: 18px; font-weight: 800; }
  .total-row.grand .amount { color: var(--brand); }
  .footer { margin-top: 48px; padding-top: 24px; border-top: 1px solid #e7e5e4;
    font-size: 12px; color: #a8a29e; line-height: 1.6; }
</style>
</head>
<body>
  <div class="page">
    <div class="topbar"></div>
    <div class="inner">
      <div class="header">
        <div class="logo-wrap">
          <div class="logo">H</div>
          <div>
            <div class="company">Harborview Creative Studio</div>
            <div class="company-sub">hello@harborview.studio</div>
          </div>
        </div>
        <div class="inv-meta">
          <div class="inv-label">Invoice</div>
          <div class="inv-number">INV-2026-0431</div>
          <div class="inv-status">Due Jul 15, 2026</div>
        </div>
      </div>

      <div class="bill-section">
        <div class="bill-col">
          <h4>From</h4>
          <p><strong>Harborview Creative Studio</strong><br>
          142 Harbor View Lane<br>
          San Francisco, CA 94105</p>
        </div>
        <div class="bill-col">
          <h4>Bill To</h4>
          <p><strong>Northwick Ventures</strong><br>
          Attn: Procurement<br>
          800 N. Clark St, Suite 400<br>
          Chicago, IL 60610</p>
        </div>
        <div class="bill-col">
          <h4>Details</h4>
          <p>Issue date: Jun 15, 2026<br>
          Due date: Jul 15, 2026<br>
          Payment: Wire / ACH</p>
        </div>
      </div>

      <table>
        <thead>
          <tr>
            <th>Description</th>
            <th>Qty</th>
            <th>Unit Price</th>
            <th>Amount</th>
          </tr>
        </thead>
        <tbody>
          <tr>
            <td>Brand Identity Package</td>
            <td>1</td>
            <td>$1,800.00</td>
            <td>$1,800.00</td>
          </tr>
          <tr>
            <td>Website Mockups</td>
            <td>1</td>
            <td>$640.00</td>
            <td>$640.00</td>
          </tr>
          <tr>
            <td>Brand Guidelines Document</td>
            <td>1</td>
            <td>$360.00</td>
            <td>$360.00</td>
          </tr>
        </tbody>
      </table>

      <div class="totals">
        <div class="total-row muted"><span>Subtotal</span><span>$2,800.00</span></div>
        <div class="total-row muted"><span>Tax (8.75%)</span><span>$245.00</span></div>
        <div class="total-row grand"><span>Total Due</span><span class="amount">$3,045.00</span></div>
      </div>

      <div class="footer">
        Payment accepted by wire transfer or ACH. For billing questions, contact
        billing@harborview.studio. Thank you for your business.
      </div>
    </div>
  </div>
</body>
</html>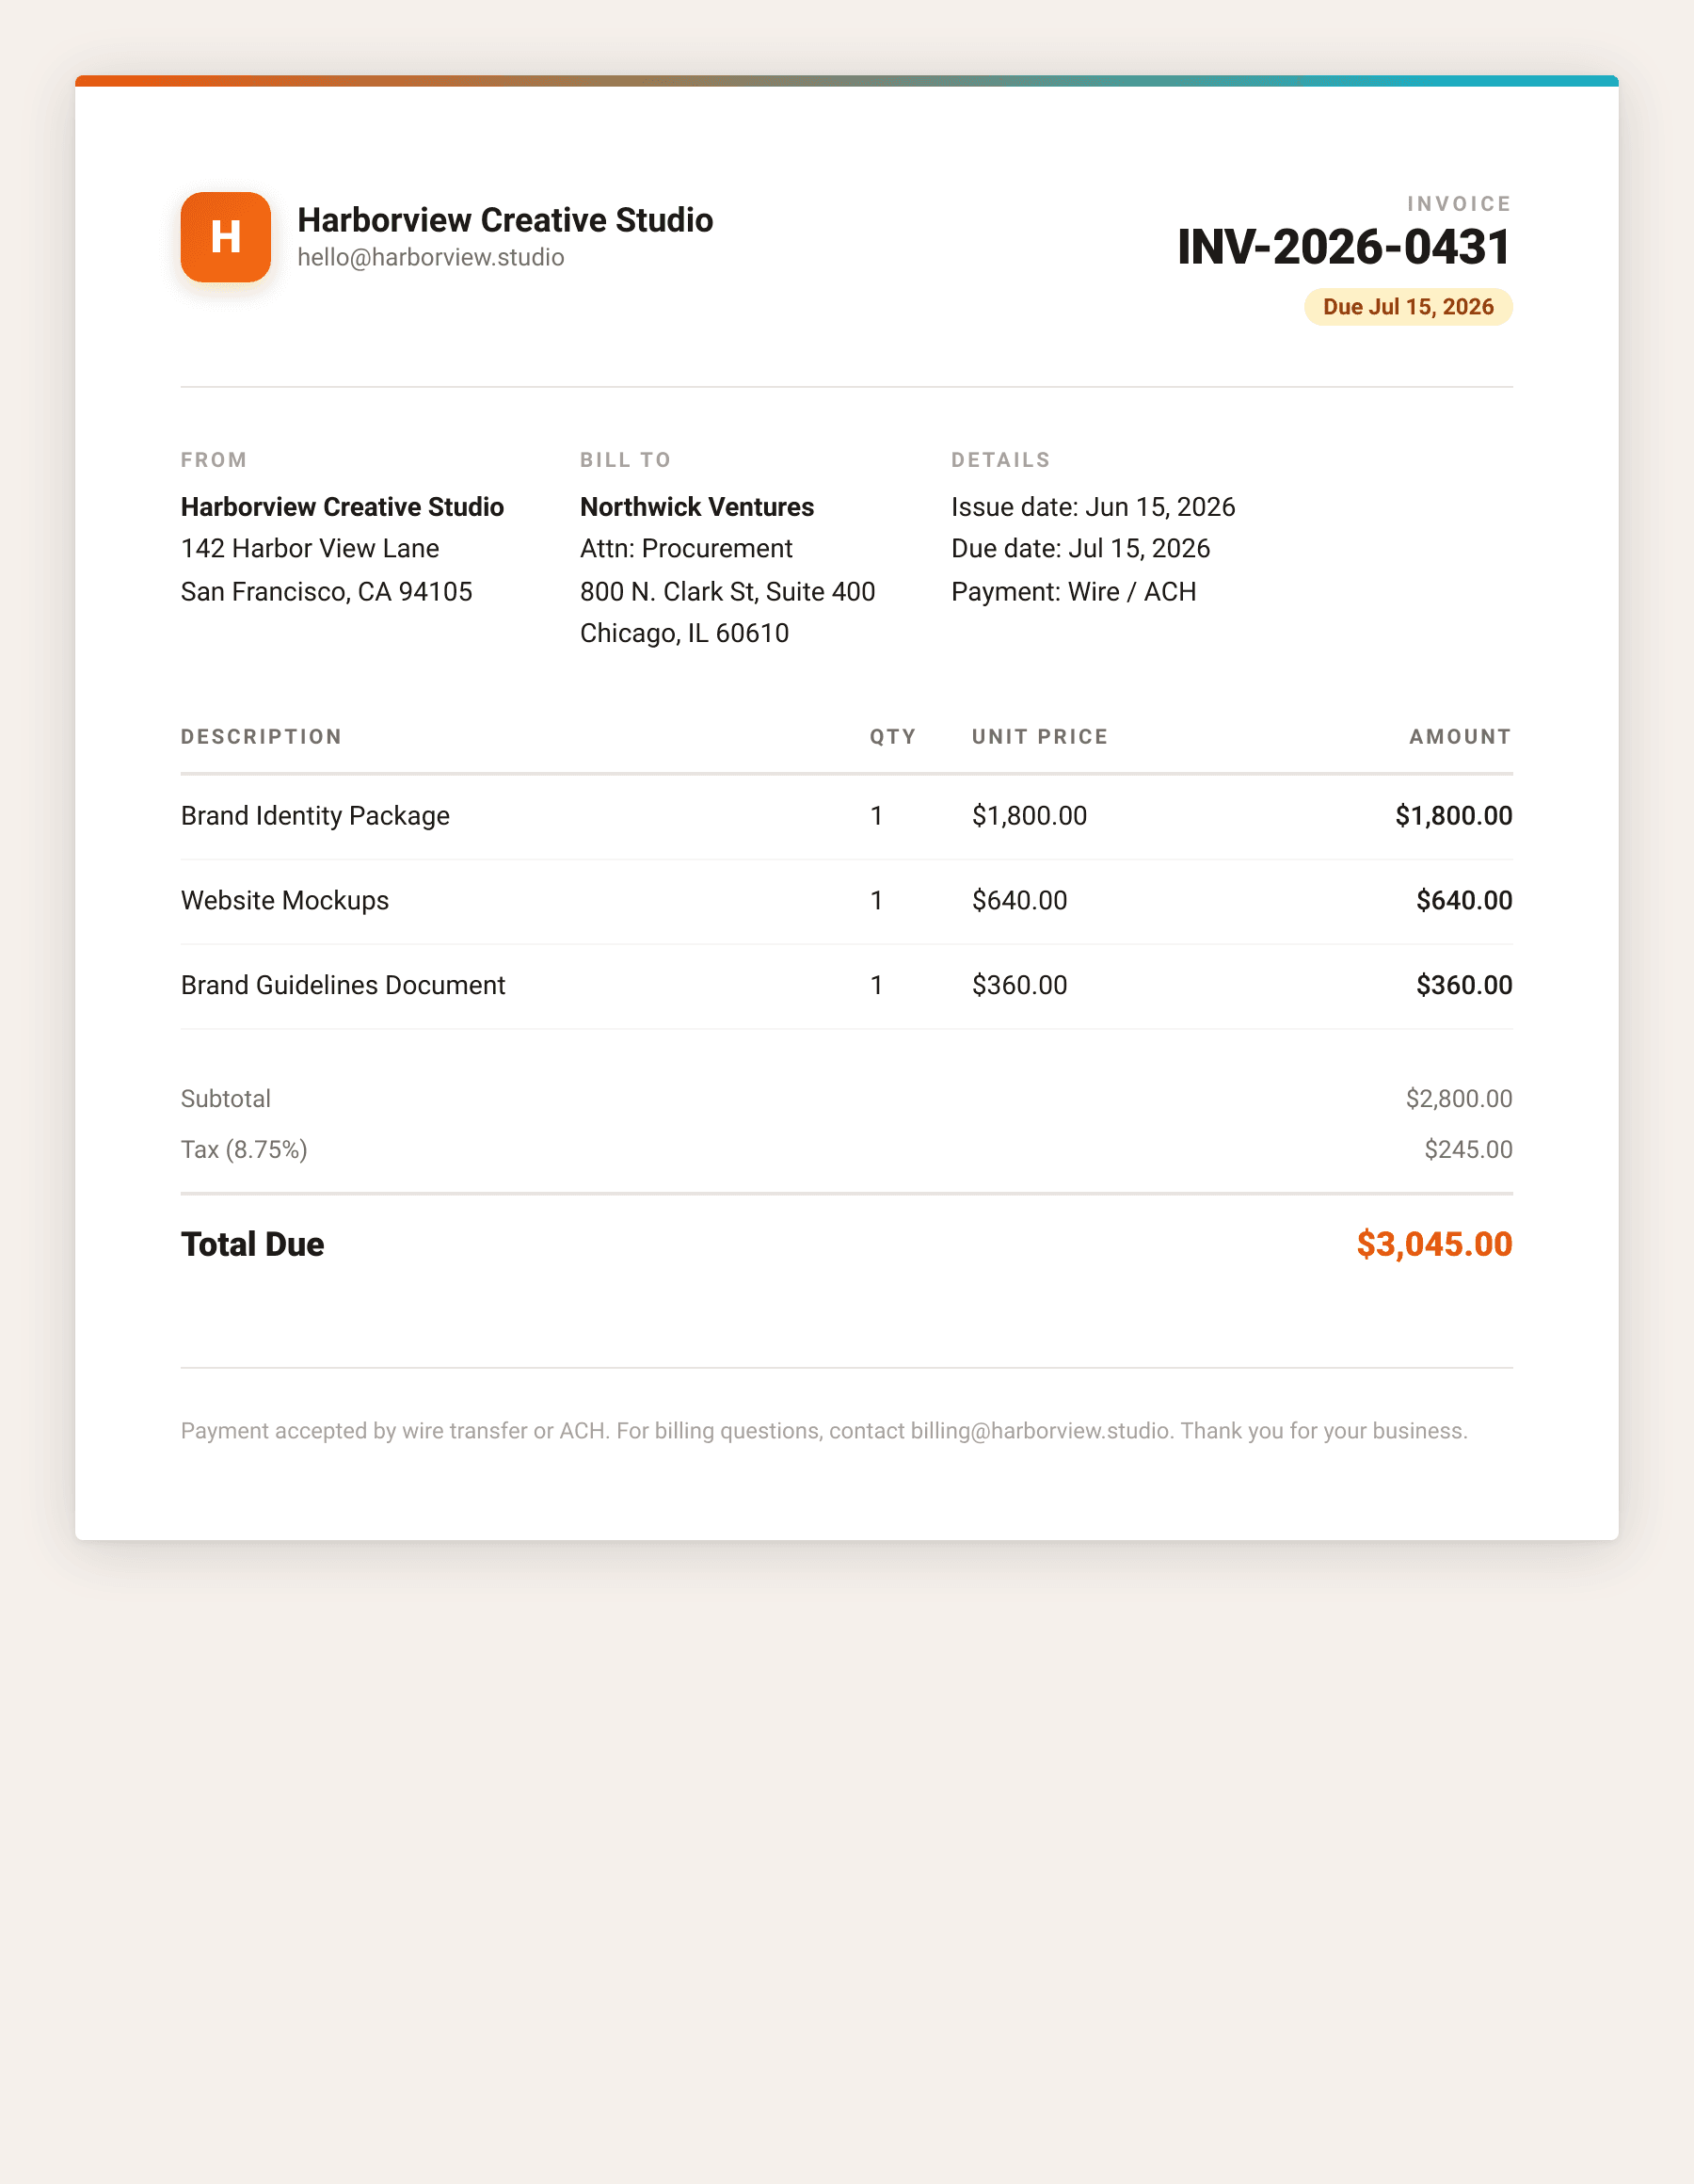
The invoice above uses a single HTML template with {{client}}, {{invoice_no}}, and {{total}} placeholders. Each Zap run fills them from a Google Sheets row. Markdown is supported the same way: set Source Type to Markdown and Rendex styles the output automatically.
To verify the template before building the Zap, use the free HTML-to-image tool. You can also test the equivalent API call directly:
curl -X POST https://api.rendex.dev/v1/screenshot \
  -H "Authorization: Bearer rdx_YOUR_KEY" \
  -H "Content-Type: application/json" \
  -d '{
    "html": "<div style=\"font-family:system-ui;padding:48px\"><h1 style=\"color:#ea580c\">Invoice #{{invoice_no}}</h1><p>Billed to: {{client}}</p><p><strong>Total due: {{total}}</strong></p></div>",
    "data": {
      "invoice_no": "INV-2026-0431",
      "client": "Northwick Ventures",
      "total": "$3,045.00"
    },
    "format": "png",
    "width": 900,
    "height": 400
  }' --output invoice.png
# Get your API key at https://rendex.dev/login
The data field in the API body maps directly to Template Values in the Zapier editor. Each key-value pair you add in Zapier becomes one entry in that object.
Step 4: Generate a PDF
Use Generate PDF when you need a paginated document rather than an image. It accepts the same source types (URL, HTML, Markdown) and the same Template Values dict. PDF-specific fields appear in the action editor:
- PDF Page Size: A4 (default), Letter, Legal, Tabloid
- PDF Landscape: toggle for wide content like dashboards or spreadsheets
- PDF Print Background: on by default, preserves CSS background colors and images
- PDF Margins: JSON object with top, right, bottom, left in CSS units, for example
{"top":"20mm","bottom":"20mm","left":"20mm","right":"20mm"}
Common recipe: Stripe New Invoice to Rendex Generate PDF (map the hosted invoice URL) to Google Drive Upload File to Gmail Send Email with the Drive link.
For slow-loading pages or documents over several pages, switch to Capture Screenshot (Background)to avoid Zapier's 30-second step timeout. The action returns a Job ID; add a Get Job Status search step to retrieve the finished PDF once it completes.
Troubleshooting
API key not validating: Confirm the key starts with rdx_. Paste it directly from your Rendex dashboard to avoid trailing spaces. If you rotated the key, go to Zapier's Connected Accounts and reconnect Rendex with the new key.
Screenshot is blank or shows a loading spinner: The page renders content after initial HTML load via JavaScript. Set Wait For Selector to a CSS selector that only exists after the page finishes hydrating, for example #main-content or .loaded.
Zap timed out: Zapier caps synchronous action steps at 30 seconds. Switch to Capture Screenshot (Background) for pages that take longer. Pair it with a Get Job Status step to retrieve the result, or paste a Zapier Catch Hook URL into the Webhook URL field to trigger a follow-up Zap when the render finishes.
403 PLAN_UPGRADE_REQUIRED:Some fields (Cookies, Custom Headers, Geo Country) require a paid Rendex plan. Each field's tooltip notes the plan requirement. Upgrade at the pricing page.
Next Steps
The Zapier integration docs list every action, trigger, search, and field with plan requirements in a single reference table.
For the equivalent workflow in Make.com, the same HTML-to-image pattern via Make's HTTP module is covered in the Make HTML-to-image guide.
Ready to start? Get a free API key (100 renders/month, no credit card) and search for Rendex in the Zapier app directory. The free HTML-to-image tool is useful for testing your template before you build the Zap.