7 Ways to Generate OG Images (APIs, Libraries, Services)
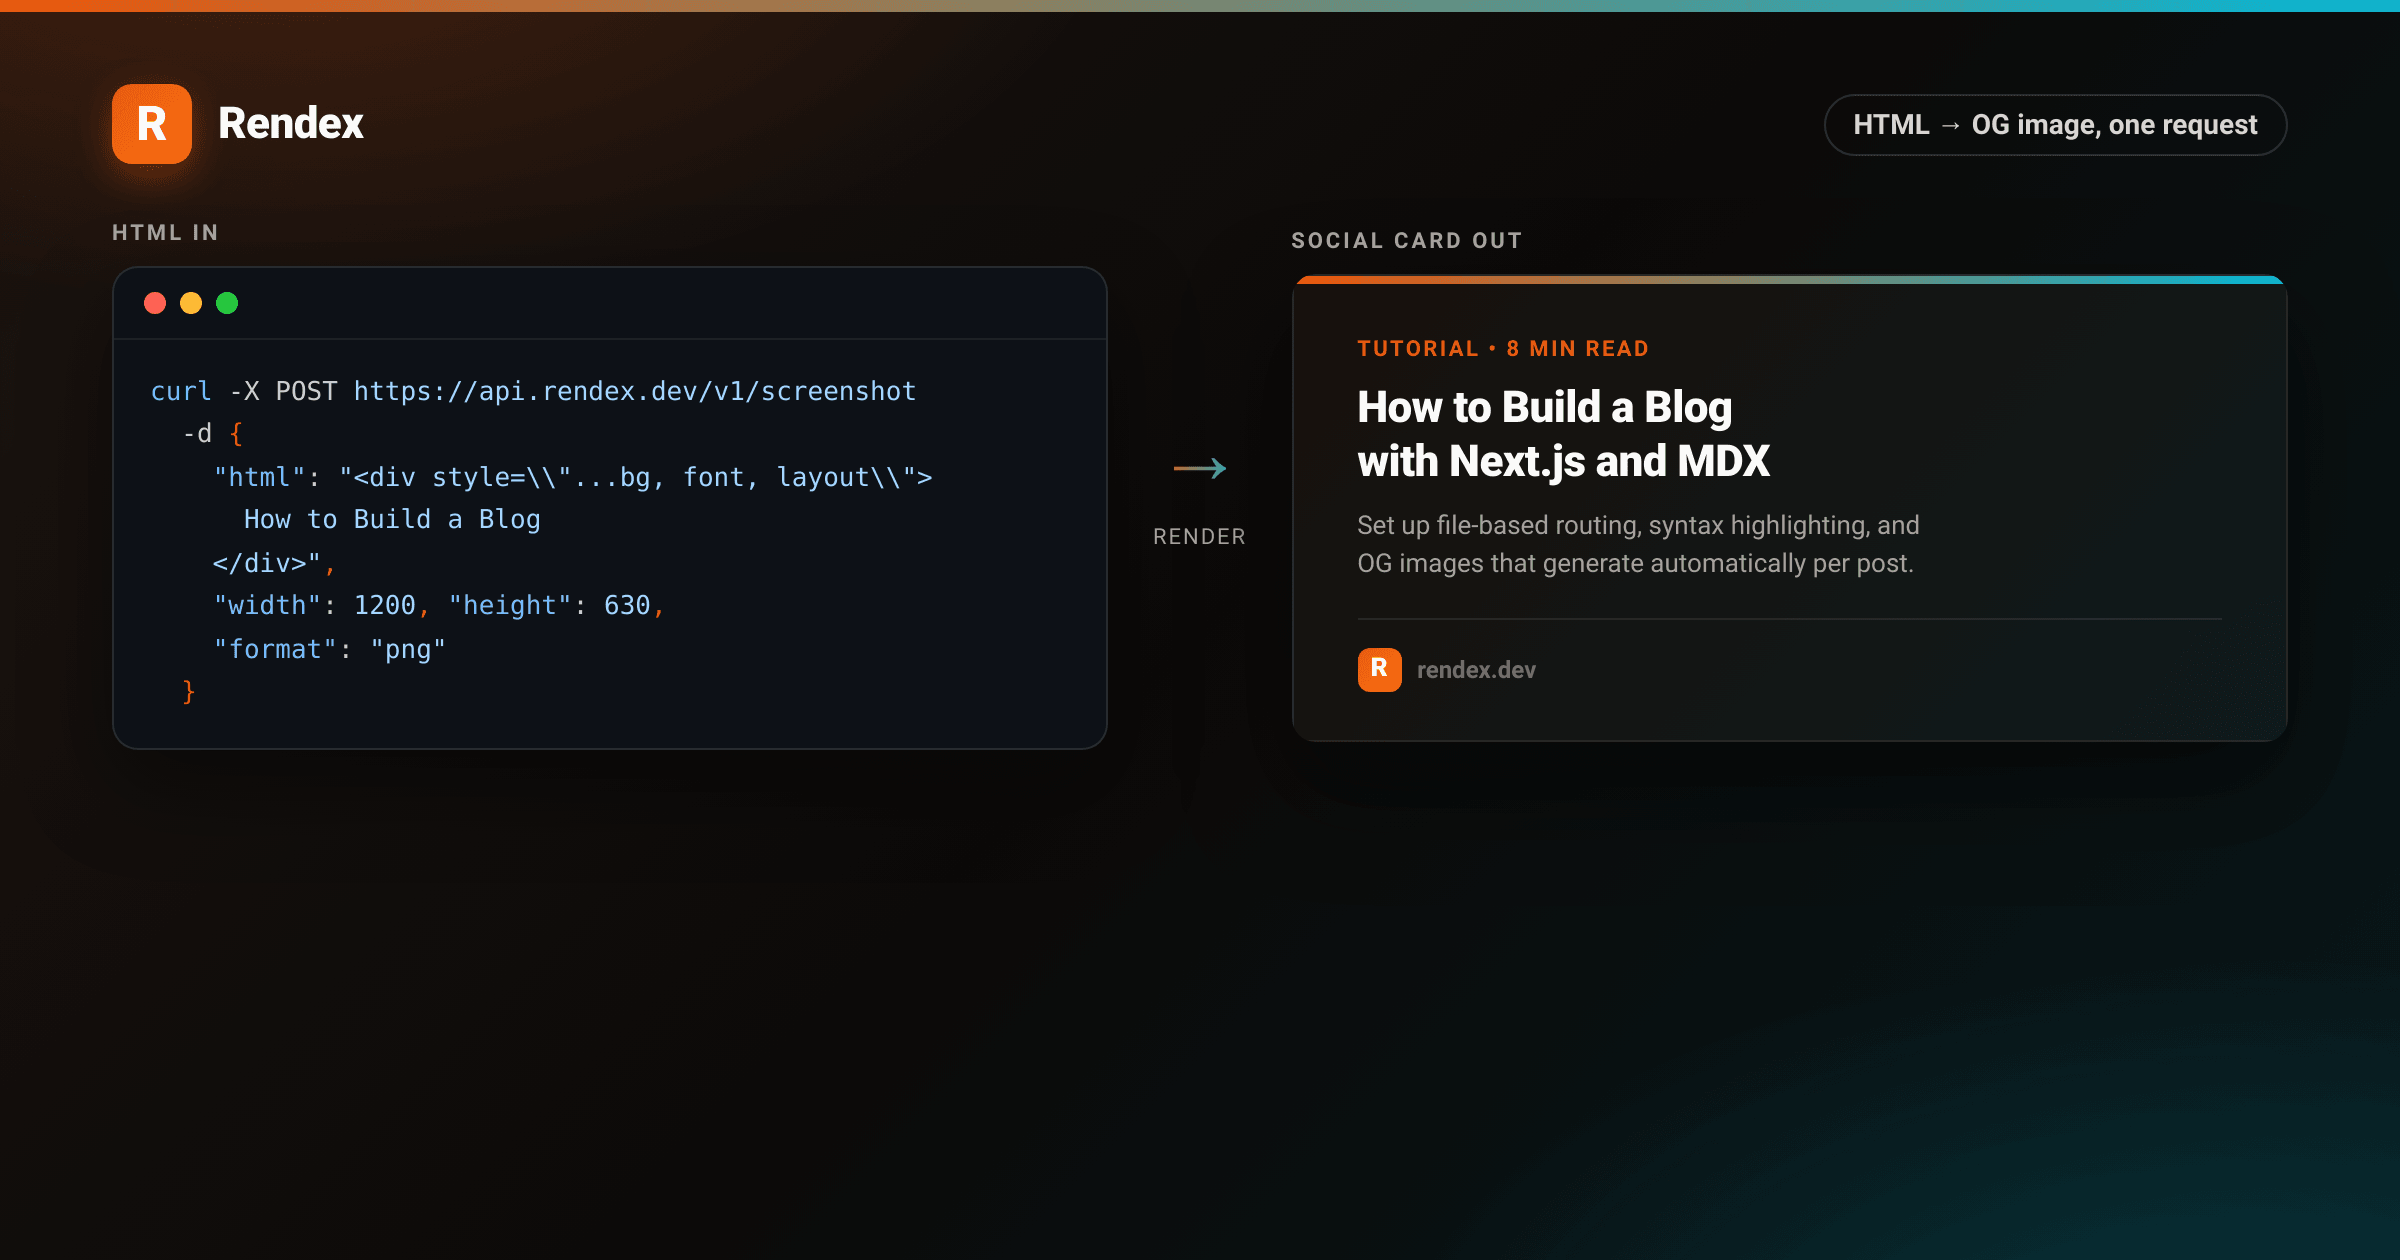
Open Graph images decide what people see when your link is shared. A well-crafted OG image drives clicks; a generic one gets ignored. The problem is generating them at scale, consistently, without a build-time bottleneck or a pile of browser infrastructure.
This roundup covers seven approaches: two libraries you embed in your app, three hosted APIs, one image CDN, and one manual design tool. Each handles a different combination of automation, layout flexibility, and infrastructure cost.
How These Were Evaluated
- Automation: can it generate images at request time from data, or is it manual?
- CSS flexibility: full HTML/CSS control, a JSX flexbox subset, or a constrained template editor?
- Hosting: runs on your server, at the edge, or via external API?
- Free tier: cost to test before committing
- Best for: the workflow type it suits best
1. Rendex API (Full HTML Control, Zero Infrastructure)
Rendex takes raw HTML and returns a PNG. You write the template in plain HTML and CSS, POST it with your dynamic data baked in, and get back an image ready to set as og:image. No build step, no Chromium instance to run, no fonts to bundle separately.
# Replace rdx_YOUR_KEY with a key from https://rendex.dev/login
curl -X POST https://api.rendex.dev/v1/screenshot \
  -H "Authorization: Bearer rdx_YOUR_KEY" \
  -H "Content-Type: application/json" \
  -d '{
    "html": "<div style=\"width:1200px;height:630px;background:#1c1917;color:#fff;display:flex;align-items:center;padding:80px;font-family:system-ui;font-size:64px\">How to Build a Blog</div>",
    "width": 1200,
    "height": 630,
    "format": "png",
    "deviceScaleFactor": 2
  }' \
  --output og.png
Here is the kind of card that HTML produces. The template on the left is plain HTML and CSS with the post title and author dropped in; the image on the right is the exact PNG Rendex returned, ready to serve as og:image.
<!DOCTYPE html>
<html lang="en">
<head>
<meta charset="utf-8">
<style>
:root { --brand: #ea580c; --brand-2: #06b6d4; }
* { box-sizing: border-box; margin: 0; padding: 0; }
body { width: 1200px; height: 630px; }
.og {
width: 1200px; height: 630px; position: relative; overflow: hidden;
display: flex; flex-direction: column; justify-content: space-between;
padding: 72px 80px;
background:
radial-gradient(900px 500px at 88% -20%, rgba(234,88,12,0.20), transparent 55%),
radial-gradient(700px 500px at -10% 120%, rgba(6,182,212,0.16), transparent 55%),
#0c0a09;
font-family: -apple-system, BlinkMacSystemFont, "Segoe UI", Roboto, Helvetica, Arial, sans-serif;
-webkit-font-smoothing: antialiased; color: #fafaf9;
}
.og::before {
content: ""; position: absolute; top: 0; left: 0; right: 0; height: 8px;
background: linear-gradient(90deg, var(--brand), var(--brand-2));
}
.eyebrow {
display: inline-flex; align-items: center; gap: 10px;
font-size: 20px; font-weight: 700; letter-spacing: 3px; text-transform: uppercase;
color: var(--brand-2);
}
.eyebrow .dot { width: 10px; height: 10px; border-radius: 50%; background: var(--brand-2); }
.title {
font-size: 76px; font-weight: 800; line-height: 1.05; letter-spacing: -1.5px;
max-width: 900px; margin-top: 26px;
}
.excerpt { font-size: 28px; color: #a8a29e; line-height: 1.4; max-width: 760px; margin-top: 26px; }
.foot { display: flex; align-items: center; gap: 18px; }
.avatar {
width: 60px; height: 60px; border-radius: 50%; flex: none;
background: linear-gradient(135deg, var(--brand), #f97316);
display: flex; align-items: center; justify-content: center;
font-size: 26px; font-weight: 800; color: #fff;
}
.byline .name { font-size: 24px; font-weight: 700; }
.byline .meta { font-size: 20px; color: #78716c; margin-top: 2px; }
.domain { margin-left: auto; display: flex; align-items: center; gap: 12px; }
.domain .mark {
width: 44px; height: 44px; border-radius: 11px;
background: linear-gradient(135deg, var(--brand), #f97316);
display: flex; align-items: center; justify-content: center;
font-size: 26px; font-weight: 800; color: #fff;
}
.domain .url { font-size: 22px; font-weight: 700; color: #e7e5e4; }
</style>
</head>
<body>
<div class="og">
<div>
<span class="eyebrow"><span class="dot"></span>Engineering</span>
<h1 class="title">Scaling Postgres to 10 Billion Rows</h1>
<p class="excerpt">Partitioning, connection pooling, and the index rewrites that kept p99 reads under 40ms.</p>
</div>
<div class="foot">
<div class="avatar">JL</div>
<div class="byline">
<div class="name">Jordan Lee</div>
<div class="meta">8 min read · Jul 2026</div>
</div>
<div class="domain">
<div class="mark">R</div>
<div class="url">rendex.dev</div>
</div>
</div>
</div>
</body>
</html>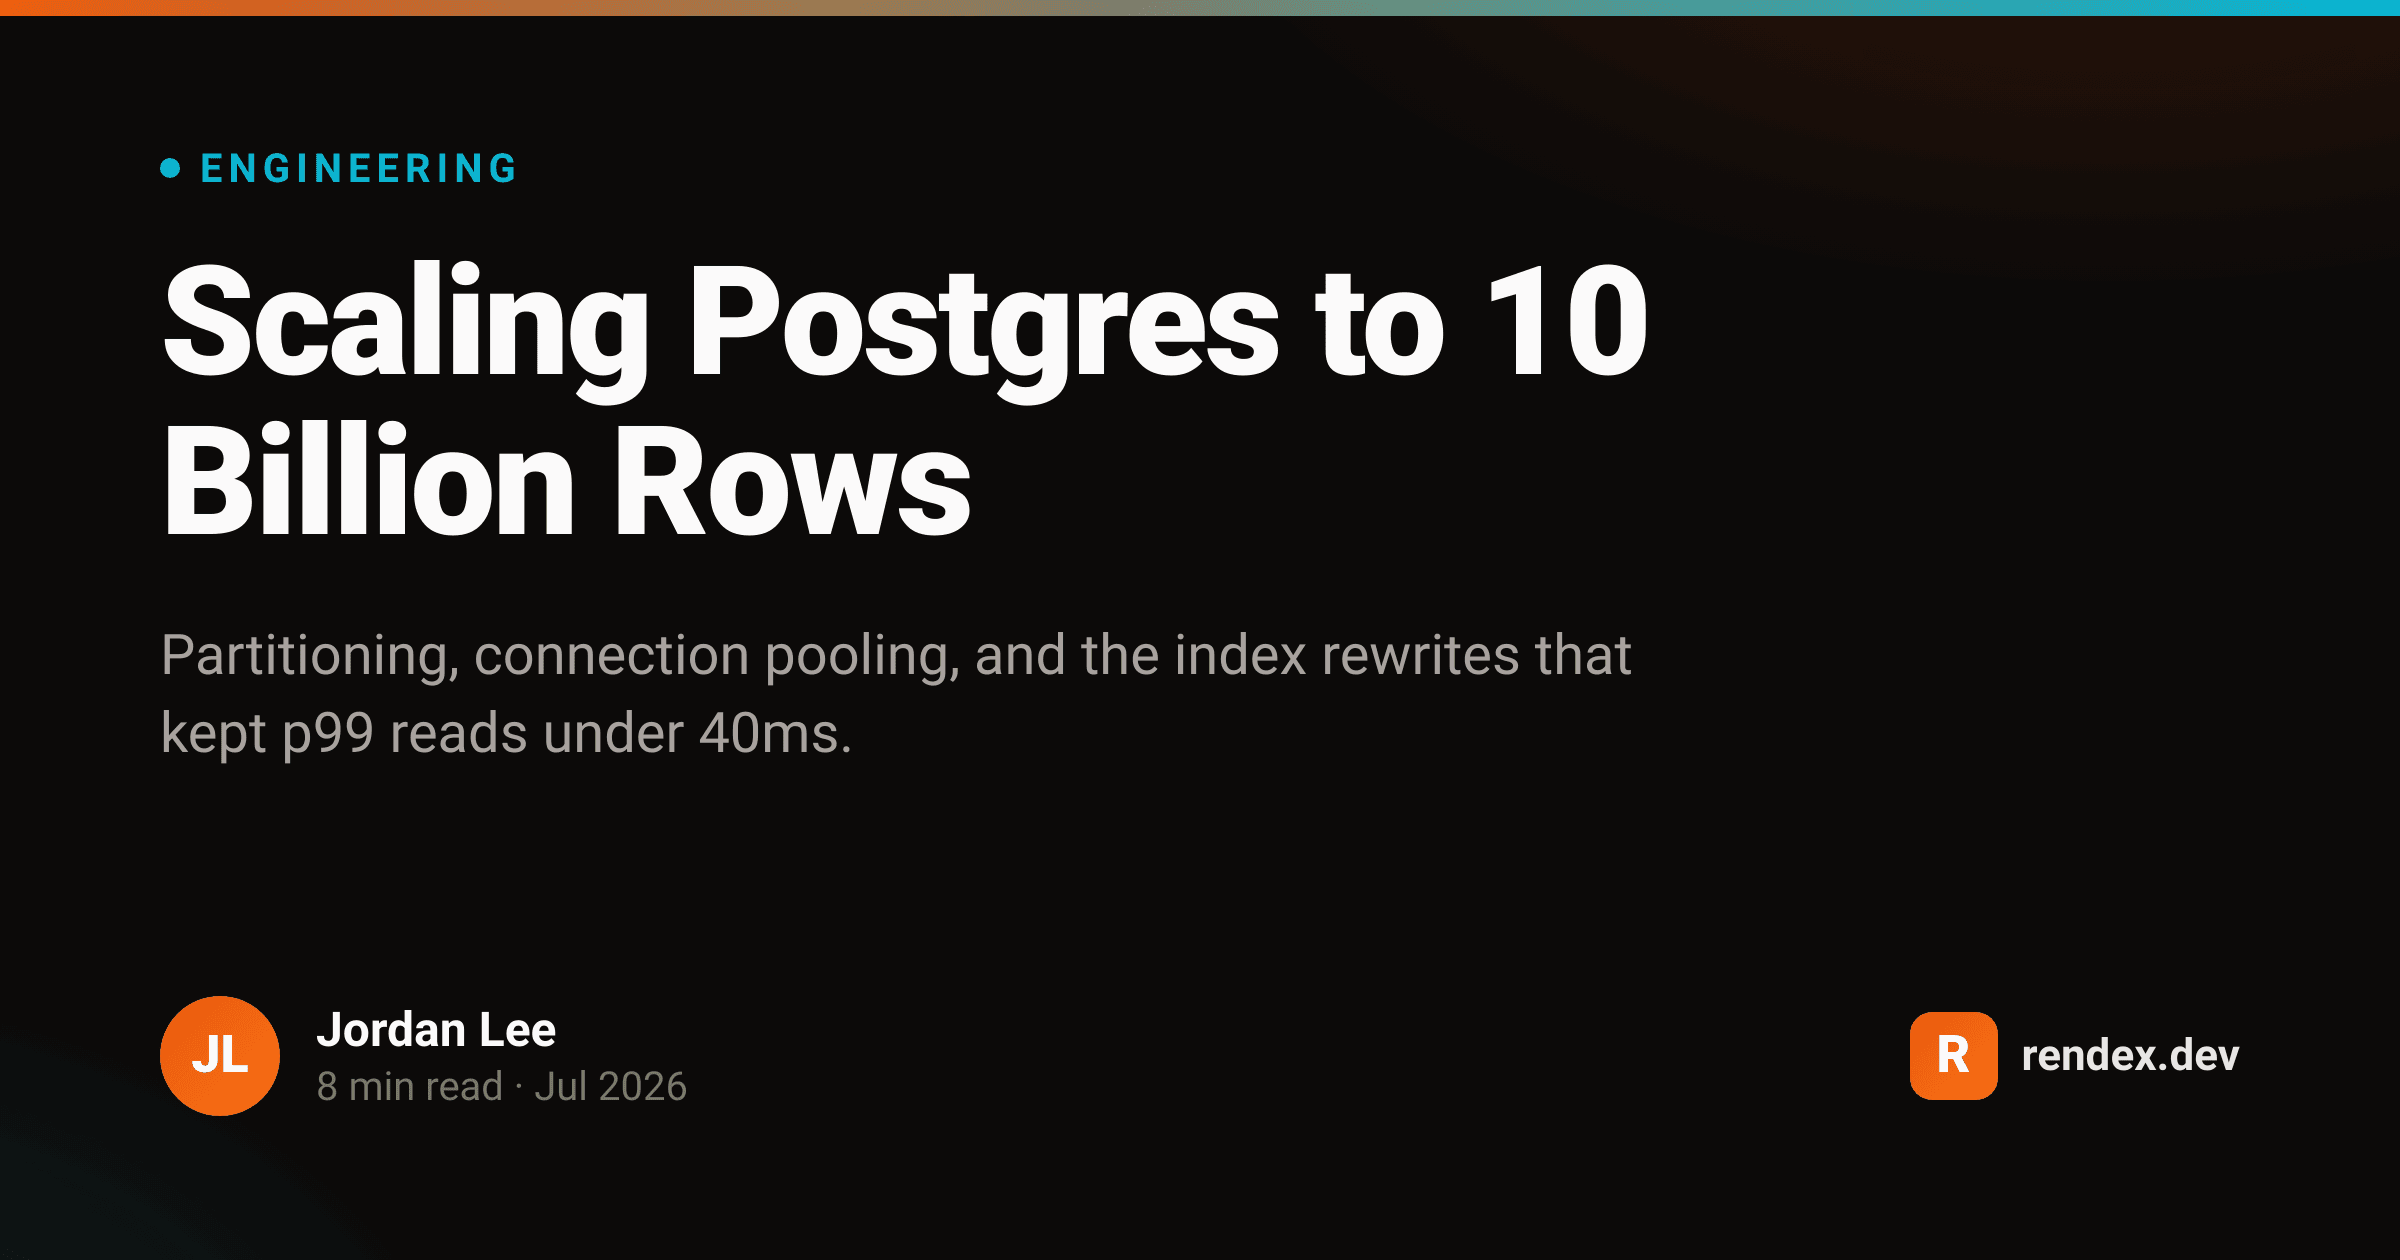
The /v1/screenshot/json variant returns a base64 PNG inside a JSON response, which is easier to handle in server functions and edge environments where you want to pipe the result directly to your CDN or cache.
Because Rendex runs real Chromium on Cloudflare's edge network, every CSS property works: Grid, custom properties, web fonts via@font-face, backdrop filters, gradients. Any design that renders in Chrome renders here. The free HTML-to-image tool on rendex.dev uses the same pipeline, so you can test your template without writing any code.
The same API key also handles full-page screenshots, Markdown-to-PDF, URL-to-PDF, and batch jobs, so you're not adding a single-purpose dependency to your stack.
Strengths: full CSS and JavaScript support, works from any language with an HTTP client, no Chromium to deploy, free tier available, doubles as a general rendering API.
Weaknesses: network round-trip per image (not suited for sub-millisecond latency requirements). Monthly call caps per plan.
Free tier: 100 calls/month. Paid plans at rendex.dev/pricing.
For a detailed walkthrough including multi-framework examples, see How to Generate Dynamic OG Images with an API.
2. @vercel/og (Next.js Native, Edge-Optimized)
@vercel/og is a Next.js package that generates OG images inside an Edge Function. You write JSX, it converts to SVG via Satori, then renders to PNG with Resvg. No API call, no external dependency, no image storage overhead.
import { ImageResponse } from "next/og"

export async function GET(request: Request) {
  const { searchParams } = new URL(request.url)
  const title = searchParams.get("title") ?? "My Post"

  return new ImageResponse(
    <div
      style={{
        width: "1200px",
        height: "630px",
        background: "#1c1917",
        color: "#fff",
        display: "flex",
        alignItems: "center",
        padding: "80px",
        fontFamily: "system-ui",
        fontSize: "64px",
      }}
    >
      {title}
    </div>,
    { width: 1200, height: 630 }
  )
}
This works well if your app deploys on Vercel. The trade-off is that Satori (the underlying renderer) supports only a subset of CSS: flexbox layout, no CSS Grid, no CSS transforms, no pseudo-classes, limitedposition support. Complex designs require substantial workarounds.
If you deploy on Railway, Render, Fly, or self-hosted infrastructure, the Edge Function assumes a V8 isolate environment that may need configuration. See Generating Social Cards in Next.js Without Vercel Lock-in for the API-based alternative on non-Vercel deployments.
Strengths: zero infrastructure, no API key, free on Vercel hobby tier, idiomatic Next.js pattern.
Weaknesses: JSX only, CSS subset limits complex designs, Vercel runtime assumption, font loading is manual.
3. Satori (Library, JSX to SVG)
Satori is the rendering engine that powers @vercel/og. It converts JSX with flexbox layout to SVG, which you then rasterize to PNG using a library like Resvg. Using Satori directly gives you control over font loading, rendering options, and output format without the Next.js wrapper.
import satori from "satori"
import { Resvg } from "@resvg/resvg-js"
import { readFileSync } from "node:fs"

const font = readFileSync("./Inter-Bold.ttf")

const svg = await satori(
  <div
    style={{
      width: "1200px",
      height: "630px",
      background: "#1c1917",
      color: "#fff",
      display: "flex",
      alignItems: "center",
      padding: "80px",
      fontSize: "64px",
    }}
  >
    How to Build a Blog
  </div>,
  {
    width: 1200,
    height: 630,
    fonts: [{ name: "Inter", data: font, weight: 700 }],
  }
)

const resvg = new Resvg(svg)
const png = resvg.render().asPng()
Satori is portable across Node.js, Deno, Bun, and Edge runtimes. You own the font loading, output pipeline, and caching strategy. The CSS subset limitation is identical to @vercel/og, since they share the same rendering engine.
Strengths: no external API dependency, portable across runtimes, fine-grained control, MIT licensed.
Weaknesses: same CSS flexbox-only limitation as @vercel/og, requires bundling fonts, more boilerplate than the Next.js wrapper.
4. Bannerbear (Template API)
Bannerbear is a hosted API for generating images from pre-designed templates. You design a template in their visual editor, mark which text blocks and image layers accept dynamic values, then call their API with your data. The image renders and is returned as a URL.
The main advantage is that non-developers can own the visual design. A marketing team can iterate on the template in the Bannerbear editor without changing the API integration. The trade-off is a constrained authoring surface: you work within their template editor, not with arbitrary HTML/CSS.
Strengths: design-team-friendly, webhook delivery for async generation, supports image collections for batch work.
Weaknesses: per-image pricing adds up at scale. Templates live in their system, not your codebase or version control. Layout control is limited to what the editor supports.
5. Placid (Template API with URL Mode)
Placid is similar to Bannerbear: visual template editor, REST API, dynamic text and image slots. Its distinctive feature is a URL-based generation mode where you encode dynamic values as query parameters rather than a POST body, which can simplify integration in low-code tools and CMS platforms.
Strengths: URL-based generation option simplifies some integrations, built-in Zapier and Make connectors, browser extension for previewing template output.
Weaknesses: same template-constraint trade-off as Bannerbear. Not suited for generating images from arbitrary HTML or for real-Chrome rendering of dynamic web content.
6. Cloudinary (Image CDN Transformations)
Cloudinary is an image CDN with a transformation API. You construct OG images by chaining transformations on a base image: add text overlays, resize, composite a logo, apply color effects, all via URL parameters. The resulting URL points to a cached, CDN-delivered image.
This approach works if your images follow a simple formula: title text over a background, plus a logo or avatar. If you already use Cloudinary for asset management, adding OG image generation costs nothing extra. For complex, CSS-heavy layouts or designs that need a real browser to render correctly, transformation URLs become difficult to maintain.
Strengths: no server-side rendering, CDN delivery, generous free tier, already in many stacks.
Weaknesses: transformation URL syntax scales poorly with design complexity. No actual HTML/CSS rendering, so modern layouts are not achievable through this method.
7. Canva (Manual Design, No Automation)
Canva provides OG image templates you customize in the browser and export as PNG. There is no API. Each image is produced and exported by hand.
This is reasonable for static sites where the OG image never changes, or for small-volume blogs where a designer produces a handful of images per month. It does not scale to automated, data-driven generation and adds a manual step to every content publish cycle.
Strengths: no code, no API key, familiar to non-technical teams, exports in any image format.
Weaknesses: no automation possible, manual export per image, disconnected from your content pipeline.
Comparison
| Tool | Automation | CSS Support | Self-Host | Free Tier | Best For |
|---|---|---|---|---|---|
| Rendex | Full | Full (Chromium) | No (API) | 100/mo | Any HTML layout, any language |
| @vercel/og | Full | Flexbox only | Yes (Edge) | Free | Next.js on Vercel |
| Satori | Full | Flexbox only | Yes | Free (OSS) | Portable rendering pipeline |
| Bannerbear | API-driven | Template editor | No (API) | Trial only | Non-technical design teams |
| Placid | API + URL | Template editor | No (API) | Trial only | URL-based generation, low-code |
| Cloudinary | URL params | Transformation API | No (CDN) | Yes | Simple overlays, existing CDN users |
| Canva | None | Manual design | No | Yes | Static, one-off exports |
Which to Pick
You need arbitrary HTML/CSS, custom web fonts, or a layout that requires a real browser: Rendex. Full Chromium rendering means no flexbox-only workarounds. One HTTP POST from any language or runtime, including Python, Ruby, Go, or a Cloudflare Worker.
You deploy on Vercel and want zero external dependencies: @vercel/og. It is baked into Next.js, runs at the edge, and the free tier covers most personal and small-team workloads. Accept the CSS flexbox-only constraint.
You need a portable rendering pipeline outside of Next.js: Satori with Resvg. Works across Node.js, Deno, and Bun. The same CSS subset applies.
Your design team owns the template, not your engineering team: Bannerbear or Placid. Non-technical teammates can update designs without a code deploy. Placid's URL-based generation mode can simplify integrations in CMS platforms and Zapier workflows.
You already use Cloudinary and only need text on a background image: Cloudinary transformations handle simple cases without adding another dependency. Stop there if the design is straightforward.
You have a static site and one OG image that never changes: Canva is fine. Export once, commit the PNG, and move on.
Next Steps
To test HTML-based OG image generation without writing any code, use the free OG preview tool: paste an HTML snippet, preview it at 1200×630, and see exactly what your social card will look like.
To integrate with your app, the Rendex quickstart covers the API key setup and your first image generation call in under five minutes. Python and JavaScript SDKs are available if you prefer typed clients.
Ready to generate dynamic OG images at scale? Get a free API key (100 calls/month, no credit card required) and generate your first OG image in one request.